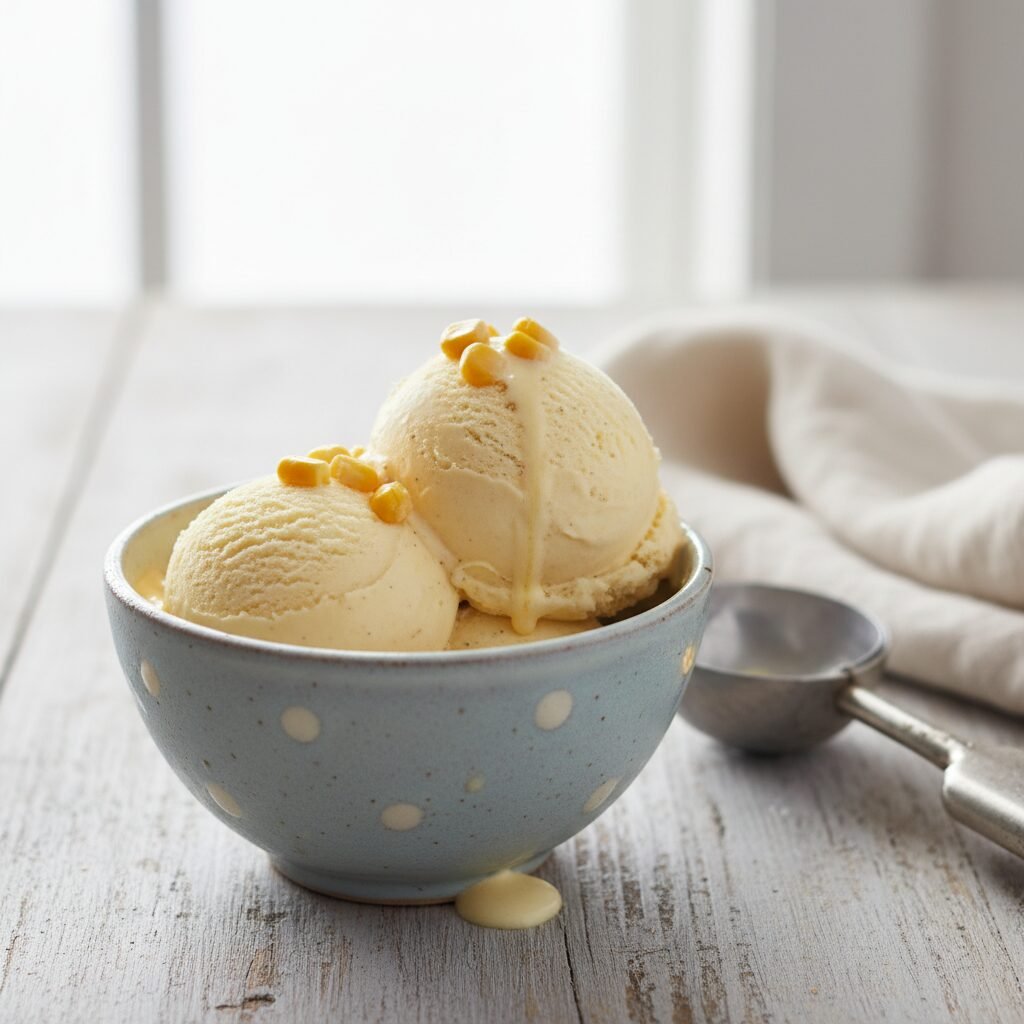
Creamy Dreamy Sweet Corn Ice Cream
Sweet Corn Ice Cream Recipe
Get ready to fall in love with your new favorite summer dessert! This Creamy Dreamy Sweet Corn Ice Cream captures the golden, sun-kissed sweetness of late-summer corn in a rich, velvety custard. It’s a surprisingly sophisticated and utterly delicious treat that tastes like sunshine in a scoop.
25 minutes
15 minutes
9 hours (includes at least 8 hours of chilling and freezing)
1 quart (about 8 servings)
Dessert
Stovetop & Ice Cream Maker
American
Gluten-Free
Why You’ll Love This Recipe
- ✓A unique sweet-and-savory flavor profile
- ✓Incredibly rich and creamy French-style custard base
- ✓Uses fresh, seasonal ingredients for peak flavor
- ✓A show-stopping dessert that’s surprisingly easy to make
Equipment You’ll Need
- ✓Ice cream maker
- ✓Medium saucepan
- ✓Blender (immersion or countertop)
- ✓Fine-mesh sieve
- ✓Large heatproof bowl for ice bath
- ✓Two medium mixing bowls
- ✓Whisk
- ✓Silicone spatula
- ✓Airtight freezer-safe container (at least 1-quart capacity)
Ingredients
- ✓2 cups fresh or frozen sweet corn kernels (from about 3-4 ears)
- ✓2 cups heavy cream, divided
- ✓1 cup whole milk
- ✓3/4 cup granulated sugar, divided
- ✓1/8 teaspoon fine sea salt
- ✓5 large egg yolks
- ✓1 teaspoon vanilla extract
Instructions
- Start by infusing the cream with corn flavor. In a medium saucepan, combine the corn kernels, 1 cup of the heavy cream, the whole milk, 1/2 cup of the sugar, and the salt. Bring the mixture to a simmer over medium heat, stirring occasionally to dissolve the sugar. Once it simmers, reduce the heat to low, cover, and let it steep for 30 minutes to an hour to really pull out that sweet corn flavor.
- Carefully transfer the warm corn mixture to a blender. Blend on high for about 30-60 seconds, until the corn is mostly broken down and the mixture is as smooth as possible. Be sure to vent the blender lid to allow steam to escape.
- Set a fine-mesh sieve over a clean bowl. Pour the blended corn mixture through the sieve, using a spatula to press on the solids to extract as much liquid as you can. You want a smooth base, so be thorough here. Discard the solids.
- Pour the strained corn-infused cream back into the saucepan and warm it gently over medium-low heat.
- While the cream warms, prepare the egg base. In a separate medium bowl, whisk the egg yolks and the remaining 1/4 cup of sugar together until the mixture is pale yellow, thick, and ribbony. This takes about 2-3 minutes of vigorous whisking.
- Now for the most important step: tempering the eggs. Slowly, and I mean slowly, pour about half a cup of the warm corn cream into the egg yolk mixture while whisking constantly. This gently raises the temperature of the yolks without scrambling them. Once combined, pour the tempered egg mixture back into the saucepan with the rest of the cream, still whisking.
- Cook the custard over medium-low heat, stirring constantly with a silicone spatula, making sure to scrape the bottom and corners of the pan. Continue cooking for about 5-8 minutes, or until the custard thickens enough to coat the back of the spatula. You’ll know it’s ready when you can draw a clean line through it with your finger.
- Immediately pour the finished custard through the fine-mesh sieve again into a clean bowl. This catches any small bits of cooked egg and ensures a silky-smooth texture. Stir in the remaining 1 cup of cold heavy cream and the vanilla extract. This helps to cool down the base faster.
- Prepare an ice bath by filling a large bowl with ice and a little cold water. Place the bowl with the custard into the ice bath and stir occasionally until it’s cool to the touch, about 20-30 minutes.
- Cover the bowl with plastic wrap, pressing it directly onto the surface of the custard to prevent a skin from forming. Refrigerate for at least 4 hours, but preferably overnight. The colder the base, the creamier your ice cream will be.
- Once thoroughly chilled, pour the custard base into your pre-frozen ice cream maker bowl. Churn according to the manufacturer’s instructions, typically for 20-25 minutes, or until it reaches the consistency of thick soft-serve.
- Transfer the churned ice cream to an airtight, freezer-safe container. Press parchment paper onto the surface, seal the container, and freeze for at least 4 hours, or until firm. Enjoy your homemade sweet corn ice cream!
Expert Cooking Tips
- ✓For a deeper, toastier corn flavor, try charring your corn kernels in a dry cast-iron skillet for a few minutes before adding them to the cream. This adds a wonderful, nutty complexity.
- ✓Don’t rush the chilling process! A properly chilled base is the secret to small ice crystals and an ultra-creamy texture. Overnight is always best.
- ✓When cooking the custard, use a spatula instead of a whisk. A spatula allows you to constantly scrape the bottom of the pan, preventing the eggs from catching and scrambling.
- ✓Save the strained corn pulp! You can mix it into cornbread batter, fritters, or even savory pancakes for a boost of flavor and texture.
Substitutions and Variations
For a dairy-free version, you can experiment with full-fat coconut milk and coconut cream, though the flavor and texture will be different. A high-quality, neutral-flavored oat milk could also work in place of whole milk. If you don’t have an ice cream maker, you can use the no-churn method: after chilling the base, pour it into a freezer-safe loaf pan. Freeze for 45 minutes, then stir vigorously with a fork, breaking up any ice crystals. Repeat this process every 30-45 minutes for 2-3 hours until the ice cream is frozen but still stir-able, then freeze until solid.
Common Mistakes to Avoid
The biggest mistake is cooking the custard too quickly or not stirring enough, which results in scrambled eggs. Go low and slow, and never walk away from the stove. Another common issue is not chilling the base long enough. A warm base will not churn properly, leading to an icy, thin final product. Be patient and chill it overnight for the best results.
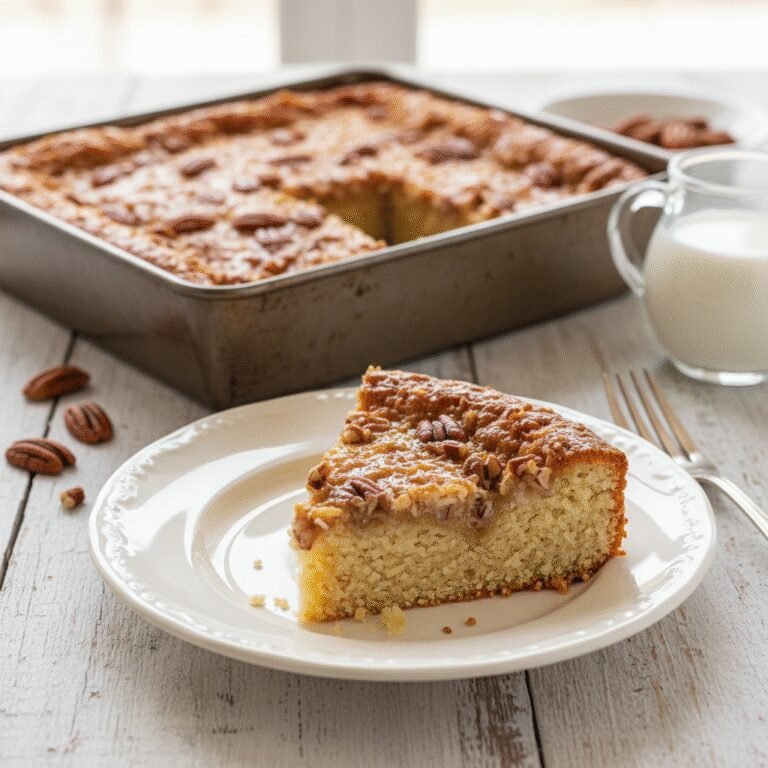
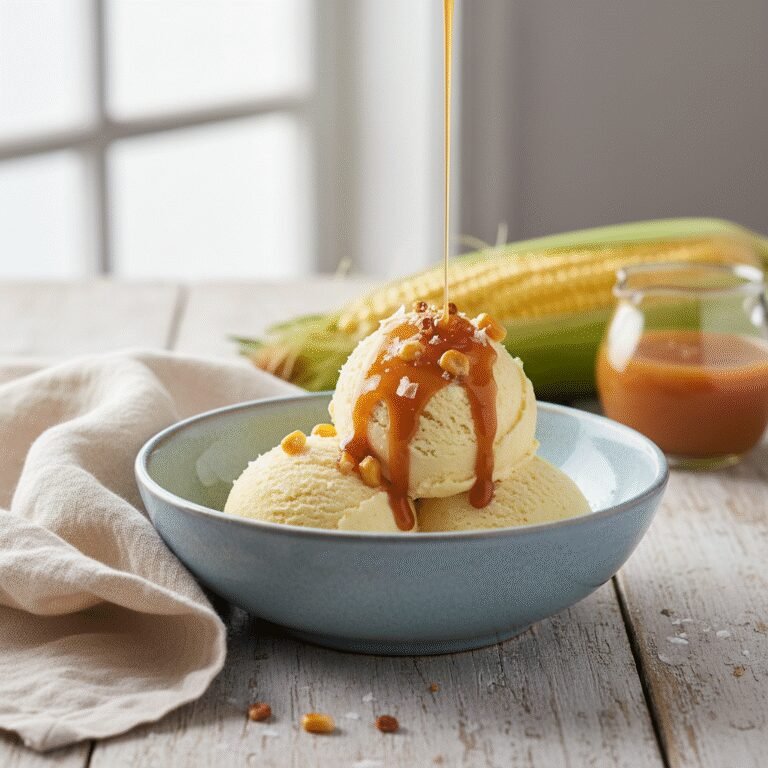
Serving Suggestions
This ice cream is a star on its own, but it pairs beautifully with other flavors. Serve it with a drizzle of salted caramel sauce, a sprinkle of flaky sea salt, or a handful of candied pecans. It’s also incredible alongside a slice of blueberry pie, a warm peach crisp, or a simple pound cake, where its sweet corn flavor can really shine.
Storage and Reheating Tips
Store your homemade ice cream in an airtight container in the coldest part of your freezer (usually the very back, not the door). To prevent freezer burn and ice crystals, press a layer of parchment paper or plastic wrap directly against the surface of the ice cream before securing the lid. It’s best enjoyed within 1-2 weeks for optimal flavor and texture.
Nutrition Facts (Estimated)
| Serving Size | 1/2 cup |
| Calories | 285 kcal |
| Fat | 19 g |
| Saturated Fat | 11 g |
| Unsaturated Fat | 8 g |
| Trans Fat | 0 g |
| Cholesterol | 125 mg |
| Sodium | 160 mg |
| Carbohydrates | 26 g |
| Fiber | 1 g |
| Sugar | 23 g |
| Protein | 4 g |
Frequently Asked Questions
Can I use canned or frozen corn for this recipe?
Yes! While fresh, in-season sweet corn provides the best flavor, high-quality frozen corn is an excellent substitute. If using canned corn, be sure to drain and rinse it thoroughly, and look for a brand with no added salt or sugar.
Why did my ice cream turn out icy instead of creamy?
Icy texture is usually caused by large ice crystals. This can happen for a few reasons: the custard base wasn’t cold enough before churning, your ice cream maker bowl wasn’t fully frozen, or the ice cream froze too slowly in your freezer. Ensure everything is as cold as possible for the creamiest results.
My custard looks lumpy. Can I save it?
If you see a few small lumps, you can usually save it by immediately pouring it through a fine-mesh sieve. This will catch any bits of overcooked egg. If the mixture is heavily scrambled, unfortunately, it’s best to start over.
Can I add mix-ins to this ice cream?
Absolutely! Toasted coconut flakes, a swirl of blackberry jam, or crumbled shortbread cookies would all be delicious. Add any mix-ins during the last minute of churning so they get evenly distributed without breaking down too much.
Conclusion
There you have it – a scoop of pure summer joy! This Creamy Sweet Corn Ice Cream is a delightful surprise that will have everyone asking for the recipe. It’s the perfect way to celebrate the season’s bounty. If you try it, I’d love to see your creations! Snap a photo and share it on Pinterest or Instagram, and don’t forget to tag us!