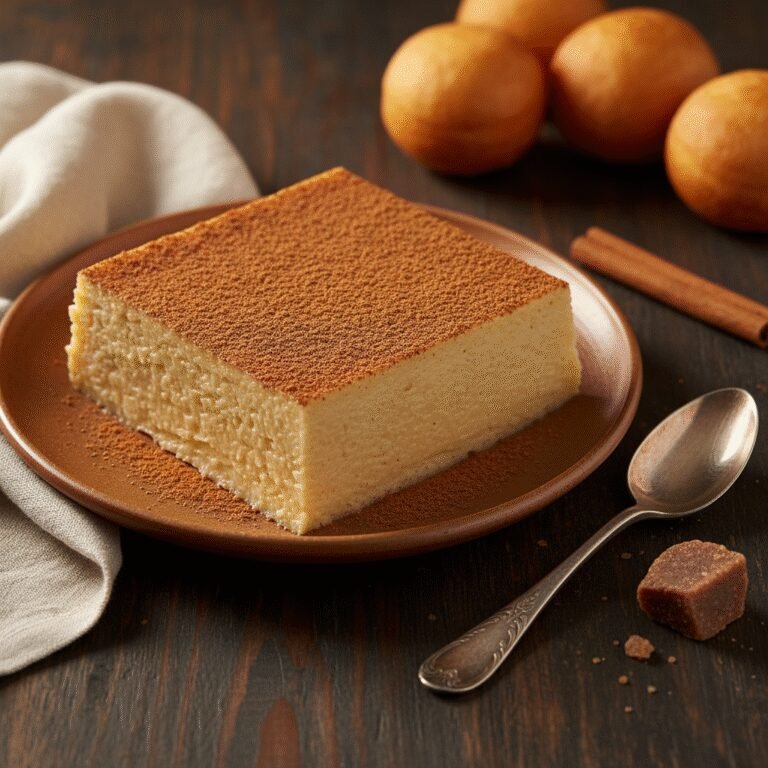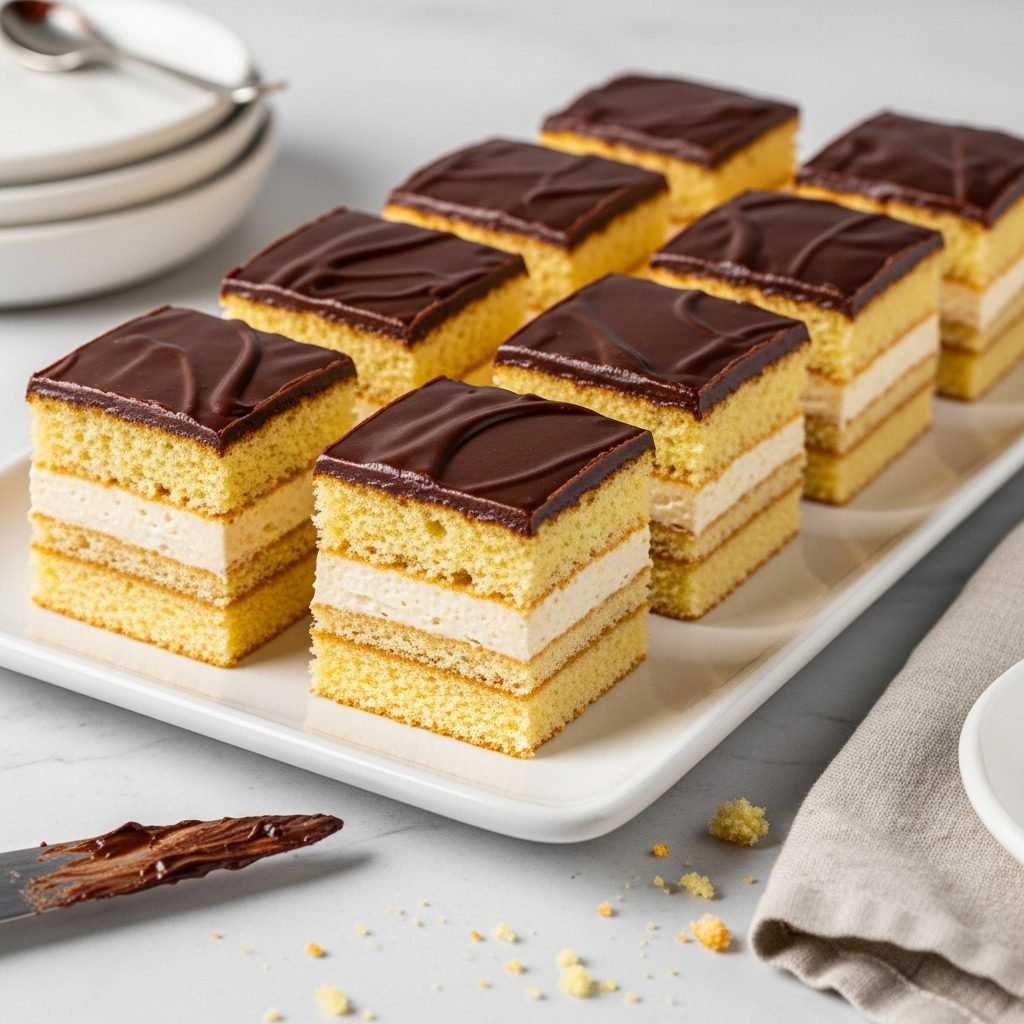
Cloud-Soft Bird’s Milk Cake With a Shiny Chocolate Glaze
Bird’s Milk Cake is one of those nostalgic desserts that feels straight out of a European café—soft sponge layers, a silky marshmallow-like cream filling, and a glossy chocolate topping that cracks ever so slightly when you cut into it. The texture is unlike any other cake: airy, tender, lightly sweet, and beautifully light on the palate. It’s the kind of dessert that makes people pause after the first bite.
If you enjoy cakes that feel elegant but not overly heavy, this one will win you over. It looks impressive, tastes dreamy, and is surprisingly doable even for beginner bakers.
Why You’ll Love This Recipe
Bird’s Milk Cake has a little of everything: a fluffy base, a cloud-like cream layer, and a chocolate finish that ties it all together. The flavors are gentle and comforting—vanilla, sweet milk, and cocoa—while the textures melt in your mouth. It’s a dessert that works just as well for celebrations as it does for a cozy evening tea.
Quick Highlights
- Taste: Light vanilla cake with a silky, airy milk cream and rich chocolate glaze
- Prep Time: 35 minutes
- Cook Time: 20 minutes
- Chill Time: 2 hours
- Difficulty: Moderate but very approachable
- What Makes It Special: The soufflé-style filling that feels like biting into a soft cloud
Ingredients
Sponge Cake Base
- 4 large eggs
- 3/4 cup granulated sugar
- 1 cup all-purpose flour
- 1 tsp vanilla extract
- Pinch of salt
Cream Filling
- 1 cup whole milk
- 1/2 cup granulated sugar
- 2 tbsp unflavored gelatin
- 1/4 cup cold water (for blooming the gelatin)
- 1 cup unsalted butter, softened
- 1 tsp vanilla extract
Chocolate Glaze
- 1 cup semisweet chocolate chips
- 4 tbsp unsalted butter
- 2 tbsp milk
Step-by-Step Instructions
1. Prepare the sponge cake
Preheat oven to 350°F. Line a 9×13-inch pan with parchment. In a bowl, beat eggs, sugar, and vanilla until pale and fluffy—about 5 minutes. Gently fold in flour and salt until smooth. Pour into the pan and bake for 18–20 minutes. Let cool completely.
2. Make the cream layer
Bloom the gelatin by sprinkling it over 1/4 cup cold water. Let sit 5 minutes. In a saucepan, warm the milk and sugar until the sugar dissolves. Remove from heat and whisk in the gelatin until melted. Cool to lukewarm.
3. Whip the butter
Beat softened butter until creamy. Slowly pour the cooled milk mixture into the butter while mixing on low speed. Add vanilla. Increase speed and beat until thick, smooth, and airy.
4. Assemble the cake
Spread the cream filling evenly over the cooled sponge layer. Smooth the top with a spatula. Refrigerate while preparing the glaze.
5. Make the chocolate glaze
Melt chocolate chips, butter, and milk in a small saucepan over low heat, stirring until glossy. Cool slightly so it thickens but is still pourable.
6. Glaze the cake
Pour the warm glaze over the cream layer and tilt the pan to spread it evenly. Refrigerate at least 2 hours.
7. Slice and enjoy
Use a warm knife for clean slices. The layers should be distinct and firm but soft.
Helpful Cooking Tips
- Make sure the milk mixture is only lukewarm before mixing with the butter—too hot will melt it.
- Fully cool the sponge before adding the filling to prevent melting.
- Chill the cake long enough; the cream needs time to set.
- For extra neat slices, dip your knife in hot water between cuts.
- If the glaze is too hot, it will melt the filling—let it cool slightly first.
Ingredient Substitutions & Dietary Options
- Butter substitute: Plant-based butter works but may create a slightly softer cream.
- Milk substitute: Whole milk gives the best texture, but oat or almond milk can be used.
- Chocolate options: Dark chocolate gives a richer flavor; milk chocolate creates a sweeter glaze.
- Gluten-free: Use a gluten-free 1:1 baking flour for the sponge.
- Lower-sugar version: Reduce sugar in the cream by one-third without affecting texture.
Common Mistakes to Avoid
- Overheating gelatin: It should melt gently—boiling breaks it down.
- Adding warm filling to warm cake: Everything must be cooled before assembly.
- Not whipping the butter enough: Proper whipping ensures a fluffy cream.
- Cutting too soon: The cake must chill fully to set clean layers.
- Too-thick glaze: Thin it with an extra tablespoon of milk if needed.
Serving Suggestions
- Serve chilled for the dreamiest texture.
- Add fresh berries on the side for a bright contrast.
- Dust lightly with cocoa for a café-style finish.
- Cut into small squares for party platters.
- Enjoy with tea, coffee, or a light dessert wine.
Storage & Reheating Tips
- Store the cake in the fridge for 3–4 days.
- Keep it covered to prevent the cream from absorbing fridge odors.
- Freeze individual slices tightly wrapped for up to 2 months.
- Thaw frozen slices in the refrigerator—do not microwave.
- This cake is not meant to be reheated; enjoy it chilled.
FAQ
Can I use sheet gelatin instead of powdered gelatin?
Yes—use equivalent grams based on the package instructions.
Can I make the cake ahead of time?
Absolutely. It actually tastes better after chilling overnight.
Why is my cream layer too soft?
The gelatin may not have dissolved fully, or the cake wasn’t chilled long enough.
Can I flavor the filling?
Yes—try adding a touch of lemon zest, almond extract, or even a splash of coffee.
Final Thoughts
Bird’s Milk Cake has the kind of texture that surprises people—in the best way. The sponge is soft and the cream layer is light enough to melt on your tongue. It’s delicate, nostalgic, and undeniably charming. Whether you’re making it for a celebration or simply because you’re craving something silky and sweet, this recipe brings bakery-style magic into your kitchen.
Short Summary
A light, airy Bird’s Milk Cake with a fluffy vanilla sponge, cloud-like cream filling, and smooth chocolate glaze. Chill, slice, and savor.
Share the Love
If this cake made your day a little sweeter, share a photo on Pinterest or your favorite social spot—others will want to try it too.