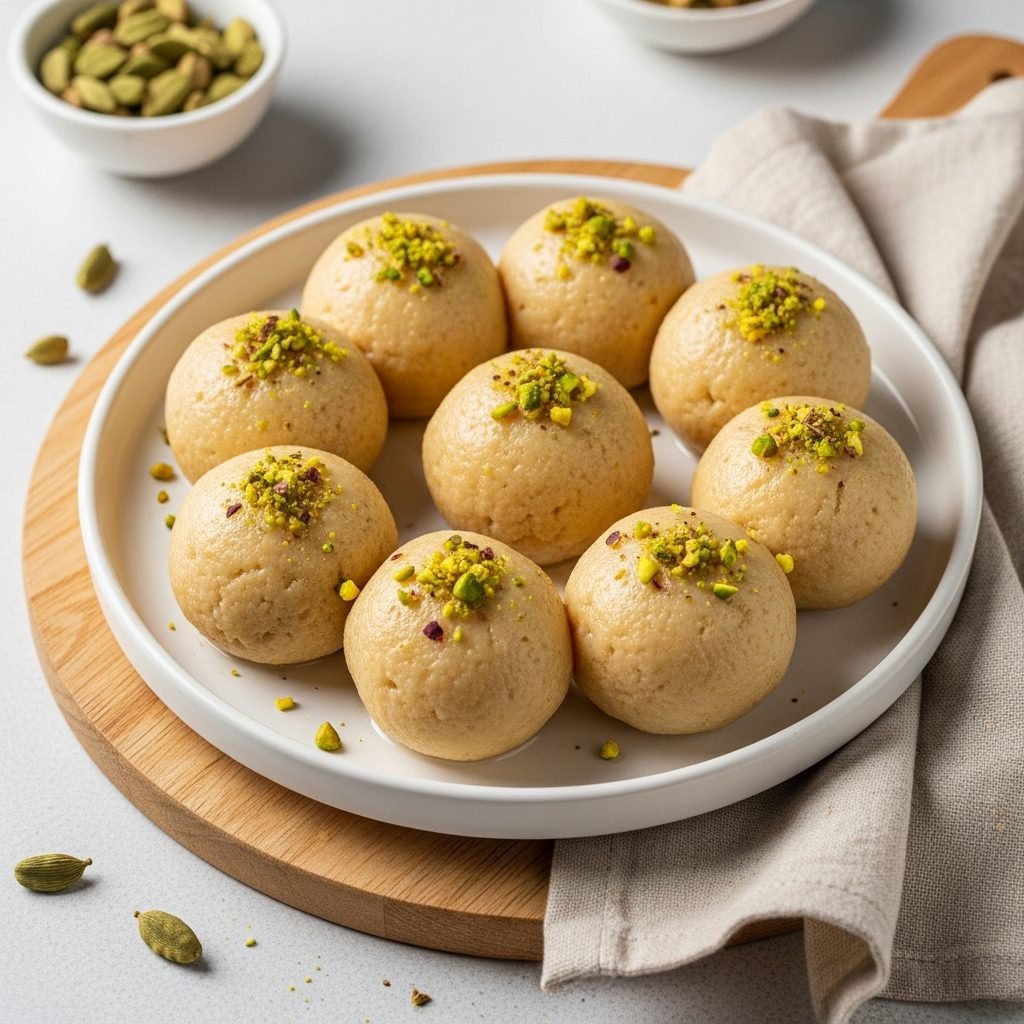
Soft & Creamy Peda That Taste Like They’re Straight from an Indian Sweet Shop
If you’ve ever wandered into an Indian sweet shop and felt that instant hit of nostalgia—the warm aroma of milk simmering down to something rich and luxurious—this peda recipe is going to be your new favorite treat to make at home. These little milk-based sweets are soft, fudgy, and delicately flavored, and they come together in a way that feels surprisingly simple for how special they look on a plate.
Why You’ll Love Making These Pedas
There’s something so comforting about peda’s melt-in-your-mouth texture. They’re lightly sweet, lightly chewy, and have that signature milky aroma you can’t help but love. This recipe keeps everything beginner-friendly, using easy-to-find ingredients and a stovetop method that requires only a bit of patience and stirring. Whether you’re prepping for a festive gathering, gifting friends, or stocking your dessert box, these little sweets feel like tiny bites of joy.
Recipe Highlights
- Flavor & Texture: Milky, soft, slightly fudgy, delicately sweet.
- Time: About 30 minutes of cooking + shaping time.
- Difficulty: Easy enough for beginners.
- Special Touch: Uses everyday ingredients but tastes like something handcrafted in a mithai shop.
Ingredients
- 2 cups whole milk powder
- 1 cup heavy cream
- 1/2 cup granulated sugar
- 2 tbsp ghee (clarified butter)
- 1/2 tsp cardamom powder
- 1–2 tbsp warm milk (only if needed to adjust texture)
- Crushed pistachios for garnish (optional)
Step-by-Step Instructions
- Warm the ghee: In a wide pan, heat the ghee over medium-low heat. Once melted, add the heavy cream.
- Add milk powder: Stir in the milk powder slowly, breaking up any lumps as you mix. It will start looking like a thick, grainy paste.
- Cook gently: Keep stirring on low heat. The mixture will loosen, then thicken again into a soft dough-like texture.
- Add sugar: Sprinkle in the sugar and stir continuously. The mixture will melt down again before thickening.
- Incorporate cardamom: Stir in the cardamom powder. Keep cooking until the mixture starts leaving the sides of the pan.
- Cool the mixture: Transfer to a plate and let it cool until warm but comfortable to touch.
- Shape the pedas: Grease your palms lightly with ghee. Roll small portions into smooth balls, then gently flatten to form that classic peda shape.
- Garnish: Press a few crushed pistachios into the center.
Helpful Cooking Tips
- Keep the heat low so the mixture doesn’t burn.
- Stir constantly—it helps keep the texture smooth.
- If the mixture feels too dry to shape, add warm milk a teaspoon at a time.
- If it’s too sticky, let it cool a few minutes longer.
Ingredient Substitutions & Dietary Options
- Milk powder: Use full-fat for best texture; nonfat works but yields a firmer peda.
- Sugar alternatives: Powdered sugar works in place of granulated. Coconut sugar changes the color but tastes lovely.
- Dairy-free version: Use coconut milk powder + coconut cream + vegan butter, but expect a different flavor.
Common Mistakes to Avoid
- High heat: Makes the mixture grainy or scorched.
- Adding sugar too early: It melts the mixture down and increases cooking time.
- Shaping while hot: Causes cracks and uneven texture—let it cool a bit first.
Serving Suggestions
Pedas make a beautiful addition to festive platters, tea-time spreads, or dessert boards. Pair them with masala chai, saffron milk, or even fruit for a balanced treat. They also look gorgeous wrapped in parchment and gifted in a small box.
Storage & Reheating Tips
- Room Temperature: Lasts 2–3 days in an airtight container.
- Refrigerator: Stays fresh up to 1 week.
- Freezer: Can be frozen for up to 1 month. Thaw in the fridge before serving.
- Reheating: Not needed, but if they firm up too much, let them sit at room temperature for 10–15 minutes.
Frequently Asked Questions
Can I use condensed milk? Yes, but the texture becomes more fudgy. Reduce the sugar accordingly.
Why are my pedas cracking? The mixture was too dry or too cool. Knead with 1–2 teaspoons of warm milk.
Can I flavor the pedas differently? Absolutely—rose water, saffron, or vanilla all work beautifully.
Do I need a candy thermometer? Not at all. This recipe is very forgiving.
Final Thoughts
Homemade pedas are one of those treats that link tradition and comfort in the sweetest way. Once you make them yourself, you’ll see how easy and rewarding the process feels—and how quickly they disappear from the plate.
Quick Summary
Simple ingredients, gentle heat, and a bit of patience are all you need to create soft, creamy pedas right in your kitchen.
If you enjoyed this recipe, share it on Pinterest or tag it on social media—it truly helps others discover homemade sweets they’ll love.