Cozy, Chewy Ohagi You Can Make Anytime
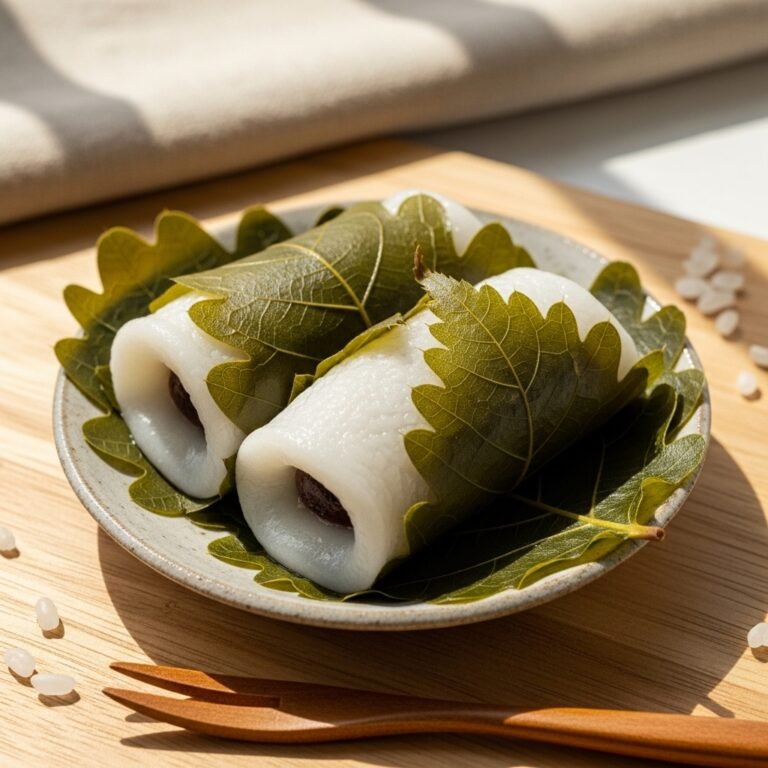
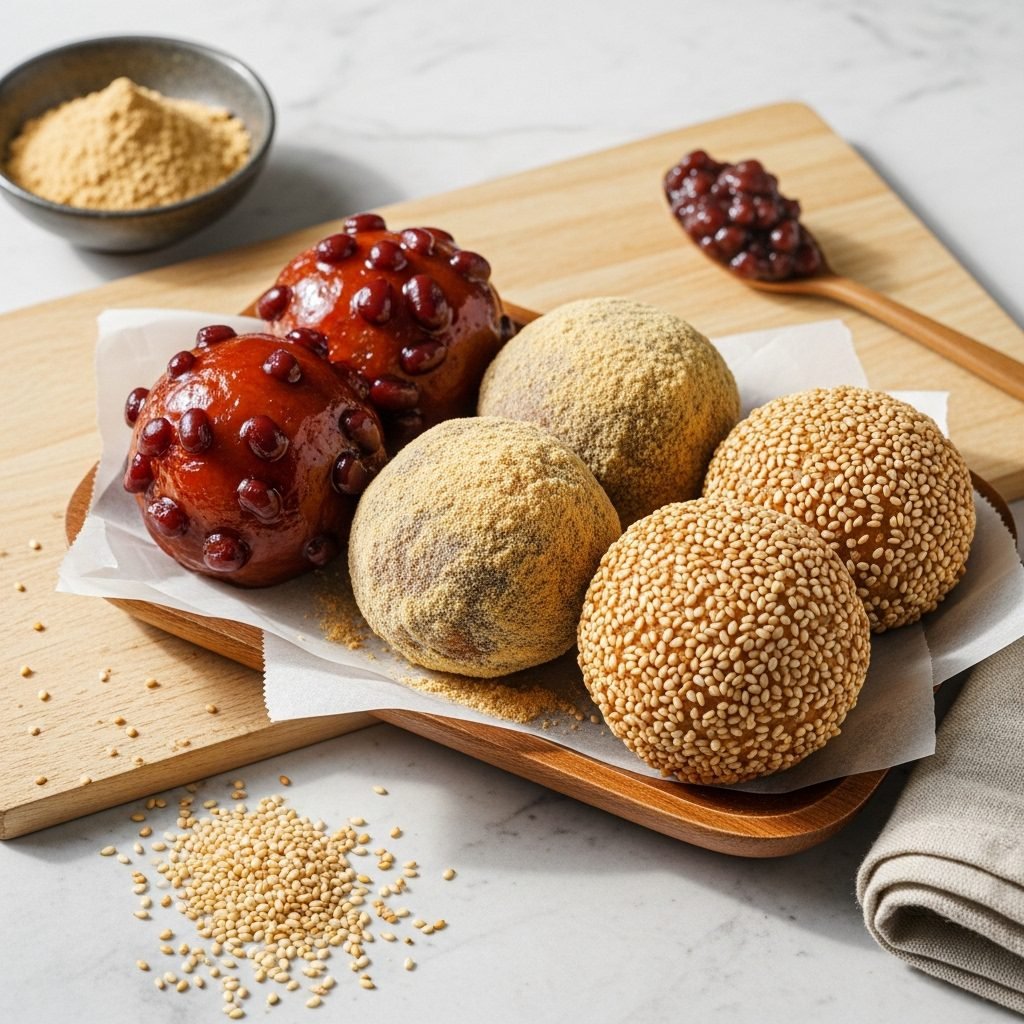
There’s something wonderfully comforting about ohagi—those soft, lightly sweet rice balls coated in smooth red bean paste, nutty kinako, or gently toasted sesame. They feel like the kind of treat a grandmother would quietly set on the table, no fanfare needed. If you’re craving a dessert that’s humble, cozy, and deeply satisfying, homemade ohagi fits right in.
Why You’ll Love This Ohagi Recipe
Ohagi is incredibly soothing to make and even more soothing to eat. Warm rice, tender chew, mild sweetness, and that nostalgic aroma from roasted soybean flour or toasted sesame—it’s dessert with personality. Whether you make one flavor or a full trio, these little rice treats have a way of bringing calm and comfort.
Quick Highlights
- Taste: Gently sweet, earthy, nutty, and toasty depending on the coating
- Texture: Chewy rice interior with soft, smooth, or crunchy outer layers
- Time: About 45 minutes
- Difficulty: Beginner-friendly
- What Makes It Special: Uses simple ingredients that transform into three distinct flavors
Ingredients
For the rice base:
- 1 cup glutinous rice
- 1/4 cup regular short-grain rice
- 1 1/4 cups water
- 2 tbsp sugar
- Pinch of salt
For the classic red bean coating:
- 1 1/4 cups sweet red bean paste (anko)
For the kinako coating:
- 1/3 cup kinako (roasted soybean flour)
- 2 tbsp sugar
- Pinch of salt
For the sesame coating:
- 1/3 cup toasted black or white sesame seeds
- 2 tbsp sugar
Step-by-Step Instructions
- Cook the rice. Rinse both rices together until the water runs mostly clear. Add them to a pot or rice cooker with the 1 1/4 cups water. Cook until soft and slightly sticky.
- Season the rice. While still hot, transfer the rice to a bowl. Add sugar and salt. Mix using a gentle folding motion.
- Let the rice cool slightly. It should still be warm but cool enough to handle.
- Prepare the coatings.
- For red bean paste: divide into 8–10 flat discs.
- For kinako: mix kinako, sugar, and salt.
- For sesame: grind slightly with sugar using a mortar and pestle for better coating.
- Shape the rice balls. Wet or lightly oil your hands. Scoop about 2 tbsp rice and shape into an oval.
- Coat each rice ball.
- Red bean version: Wrap a disc of anko around the rice ball and smooth it gently.
- Kinako version: Roll the rice ball in the kinako mixture until fully coated.
- Sesame version: Roll in sesame-sugar mixture and press gently to help it stick.
- Serve. Place on a small tray or dish and enjoy warm or room temperature.
Helpful Cooking Tips
- Keep your hands slightly damp to prevent the rice from sticking.
- Warm rice molds more easily than cold rice.
- If your red bean paste feels too soft, chill it for 10–15 minutes.
- A little pressure helps the sesame seeds cling better.
- Don’t worry about perfectly smooth shapes—ohagi should look homey.
Ingredient Substitutions & Dietary Options
- Rice: You can use all glutinous rice, but the mix of the two types gives a softer bite.
- Anko: Swap with white bean paste or date paste for a different sweetness.
- Kinako alternative: Toasted almond flour offers a similar nutty vibe.
- Sesame mix: Try a half-and-half blend of black and white seeds for contrast.
- Vegan: Naturally vegan.
- Gluten-free: All ingredients are gluten-free.
Common Mistakes to Avoid
- Using cold rice: It becomes too firm and doesn’t mold well.
- Rinsing off too much or too little starch: Just rinse until mostly clear—don’t overdo it.
- Skipping the seasoning: The small amount of sugar and salt helps balance the coatings.
- Packing the rice too tightly: Keep it firm but not compressed.
Serving Suggestions
- Serve alongside hot green tea or roasted barley tea.
- Mix and match all three coatings for a pretty assortment.
- Add a few fresh berries for color.
- Place each ohagi on a small square of parchment for a tea-house style setup.
Storage & Reheating Tips
- Room temperature: Best eaten within the same day.
- Refrigeration: Store in an airtight container for 1–2 days, but expect firmer rice.
- Freezing: Not recommended—it affects the rice texture.
- Reheating: Enjoy as-is; warm rice tends to get mushy when reheated.
FAQ
Can I make ohagi ahead of time? You can, but it’s best eaten fresh. If preparing ahead, assemble the rice and coatings separately and combine shortly before serving.
Why is ohagi often made in fall? It’s traditionally prepared during the autumn equinox, though it’s enjoyed year-round.
Can I use sushi rice alone? You can, but mixing in glutinous rice gives the signature chewy texture.
Final Thoughts
Ohagi is one of those recipes you make when you’re craving something soft, grounding, and comforting. The simple process, the cozy aroma, the warm rice—it all comes together in a way that feels peaceful. Whether you’re making it for a quiet afternoon treat or a small gathering, these little rice cakes bring warmth to the table.
Quick Summary
Tender rice balls shaped by hand and coated in red bean paste, toasted kinako, or crunchy sesame seeds. A comforting Japanese sweet that’s simple, earthy, and satisfying.
If you enjoyed this recipe, share it on Pinterest or tag it on social media—I’d love to see your ohagi creations!