Dreamy Coconut Cassava Cake with a Golden Custard Topping
Cassava Cake Recipe
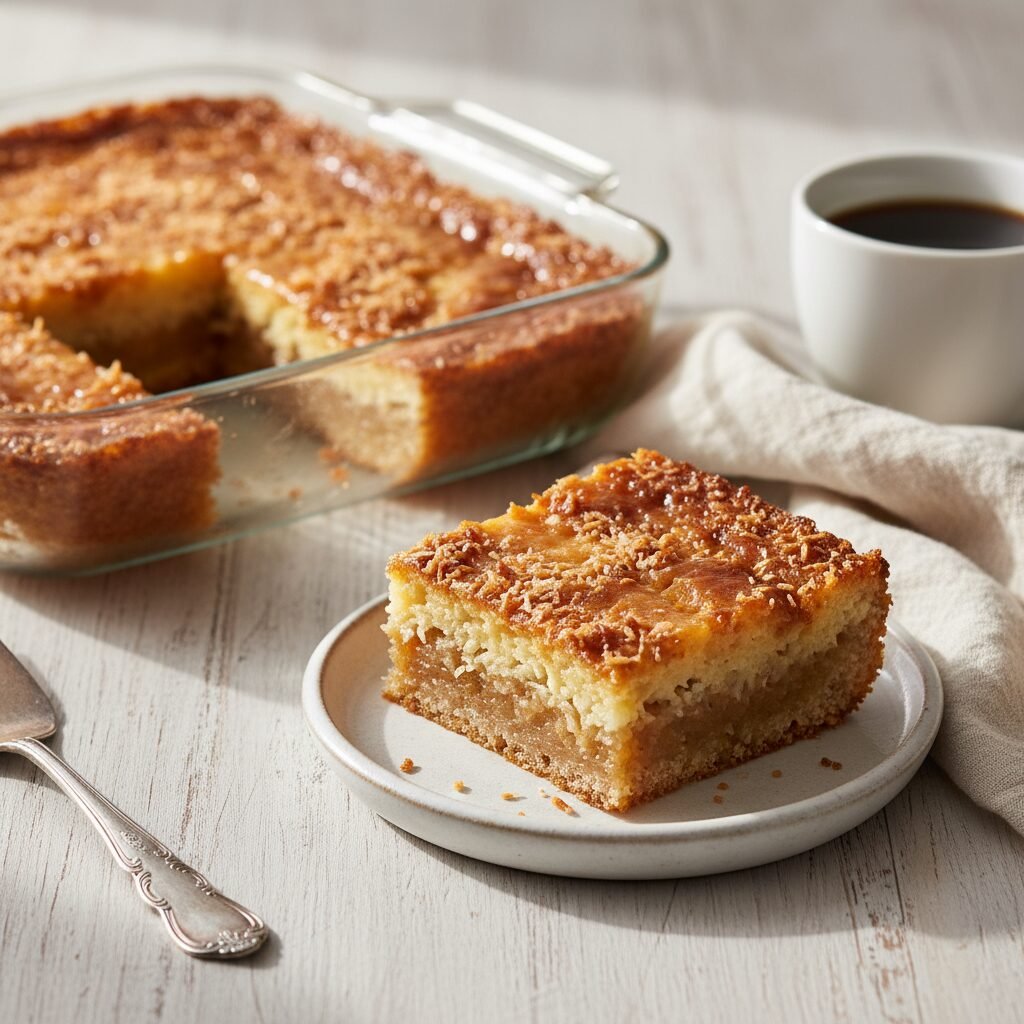
Get ready to fall in love with this incredibly rich and chewy Coconut Cassava Cake, a beloved Filipino dessert known as Bibingkang Kamoteng Kahoy! This recipe is a tropical dream, featuring a naturally gluten-free cassava base that’s unbelievably moist and a sweet, creamy custard topping that gets perfectly caramelized in the oven. It’s the ultimate comfort dessert that’s surprisingly easy to whip up and guaranteed to wow everyone.
20 minutes
1 hour 10 minutes
1 hour 30 minutes
12-16 servings
Dessert
Baking
Filipino
Gluten-Free
Why You’ll Love This Recipe
- Unbelievably chewy, gooey, and custardy texture
- Rich, tropical flavor from two types of coconut milk
- Naturally gluten-free and easy to make
- Perfect for parties, potlucks, and special occasions
Equipment You’ll Need
- Large mixing bowl
- Medium mixing bowl
- Whisk
- Rubber spatula
- 9×13 inch baking pan (glass or metal)
- Measuring cups and spoons
Ingredients
- For the Cassava Cake:
- 2 lbs (about 32 oz) frozen grated cassava, thawed
- 1 can (13.5 oz) full-fat coconut milk
- 1 can (14 oz) sweetened condensed milk
- 1 can (12 oz) evaporated milk
- 2 large eggs, lightly beaten
- 1/2 cup granulated sugar
- 1/4 cup unsalted butter, melted and slightly cooled
- 1 teaspoon vanilla extract
- Pinch of salt
- For the Custard Topping:
- 1/2 can (7 oz) sweetened condensed milk
- 1/2 cup full-fat coconut milk
- 1 large egg yolk
Instructions
- Preheat your oven to 350°F (175°C). Grease a 9×13 inch baking pan with butter or non-stick spray and set it aside.
- Prepare the cassava. Place the thawed grated cassava in a cheesecloth or a fine-mesh sieve and press firmly to squeeze out as much liquid as possible. This step is crucial for achieving the perfect chewy texture. You should have about 4 cups of drained cassava. Discard the liquid.
- In a large mixing bowl, combine the drained grated cassava, 1 can of coconut milk, 1 can of condensed milk, evaporated milk, beaten eggs, granulated sugar, melted butter, vanilla extract, and a pinch of salt.
- Whisk everything together until the batter is smooth and well-combined. Be careful not to overmix; just mix until no large lumps remain.
- Pour the cassava batter into your prepared 9×13 inch baking pan. Spread it evenly with a spatula.
- Bake for 45-50 minutes, or until the edges are lightly golden and a toothpick inserted into the center comes out with moist crumbs attached. The cake will be mostly set but still pale on top.
- While the cake is baking, prepare the custard topping. In a medium bowl, whisk together the 1/2 can of condensed milk, 1/2 cup of coconut milk, and the egg yolk until smooth and creamy.
- Once the initial baking time is up, carefully remove the cake from the oven. Gently and slowly pour the custard topping mixture over the surface of the hot cake, using a spatula to spread it into an even layer.
- Return the pan to the oven and bake for another 15-20 minutes. For a more beautifully browned and bubbly topping, switch the oven to the broil setting for the last 1-3 minutes. Watch it like a hawk during this time, as the sugary topping can burn very quickly!
- The cake is done when the topping is a deep golden brown and bubbly. Remove it from the oven and let it cool completely on a wire rack for at least 1 hour before slicing. The cake will firm up as it cools.
- Slice into squares and serve. The texture is best at room temperature, but it’s also delicious slightly warm or chilled.
Expert Cooking Tips
- The most important tip: Squeeze that cassava dry! Excess water will make your cake gummy and dense instead of perfectly chewy. Use a cheesecloth for the best results.
- Use full-fat coconut milk for both the cake and the topping. The fat content is essential for a rich, creamy flavor and luscious texture. Light coconut milk just won’t be the same.
- Let the cake cool completely before slicing. This is hard, I know! But it allows the custard to set properly, giving you clean, beautiful squares. Slicing it while warm can be a messy (though delicious) affair.
- When broiling the topping, don’t walk away! It can go from perfectly golden to burnt in a matter of seconds. Stay right by the oven door and watch it closely.
Substitutions and Variations
For a dairy-free or vegan version, you can substitute the condensed and evaporated milks with their coconut-based counterparts (like vegan condensed coconut milk). Use melted coconut oil or a vegan butter substitute in place of the butter, and use a flax egg (1 tbsp ground flaxseed + 3 tbsp water per egg) instead of regular eggs. The texture might be slightly different but still delicious. If you can’t find frozen grated cassava, you can use fresh cassava root. You’ll need to peel it, wash it, and grate it finely using a food processor or box grater, then proceed with squeezing out the liquid.
Common Mistakes to Avoid
A common mistake is not draining the grated cassava properly, which leads to a watery or overly soft cake that doesn’t set well. Another pitfall is burning the custard topping; the high sugar content makes it prone to scorching under the broiler, so it requires constant attention. Finally, underbaking the initial cake layer will result in a soft, mushy base, so ensure it’s mostly set before adding the topping.
Serving Suggestions
Serve slices of cassava cake at room temperature or slightly warmed. It’s fantastic on its own, but a hot cup of coffee or black tea beautifully cuts through its richness. For a traditional Filipino touch, you can top it with a sprinkle of sharp cheddar cheese or ‘macapuno’ (sweet coconut strings). Toasted coconut flakes also add a wonderful crunch and intensify the coconut flavor.
Storage and Reheating Tips
Store leftover cassava cake in an airtight container in the refrigerator for up to 5 days. The texture will become firmer when chilled. You can enjoy it cold straight from the fridge or let it sit at room temperature for about 20-30 minutes to soften up before serving. You can also gently reheat individual slices in the microwave for 15-20 seconds if you prefer it warm.
Nutrition Facts (Estimated)
| Serving Size | 1 slice |
| Calories | 385 kcal |
| Fat | 22 g |
| Saturated Fat | 17 g |
| Unsaturated Fat | 4 g |
| Trans Fat | 0.5 g |
| Cholesterol | 65 mg |
| Sodium | 160 mg |
| Carbohydrates | 45 g |
| Fiber | 2 g |
| Sugar | 28 g |
| Protein | 4 g |
Frequently Asked Questions
Can I use fresh cassava instead of frozen?
Absolutely! You’ll need about 2.5 pounds of fresh cassava root to yield the 2 pounds (32 oz) of grated cassava needed. Be sure to peel the tough brown skin and the waxy pinkish layer underneath, then grate it using the fine side of a box grater or a food processor. Then, follow the recipe by squeezing out all the excess moisture.
Why is my cassava cake texture gummy instead of chewy?
This almost always comes down to one thing: moisture. If you don’t squeeze enough of the liquid out from the thawed grated cassava, the extra water will create a gummy, dense texture. Take the time to really press out as much liquid as you can for that perfect chew.
My custard topping didn’t get brown and bubbly. What did I do wrong?
If your topping is pale, your oven might not have been hot enough, or it needed more time. The best way to get that beautiful golden-brown, caramelized top is to use the broiler for the last few minutes of cooking. Just be extremely careful and watch it continuously to prevent it from burning.
Can I make this recipe in a different size pan?
Yes, you can. A 9-inch round pan or an 8×8 inch square pan will also work, but your cake will be thicker, and you will need to adjust the baking time. Start checking for doneness about 10-15 minutes longer than the recipe states for the initial bake.
Conclusion
There you have it—a truly irresistible Coconut Cassava Cake that brings a taste of the tropics right to your kitchen. The combination of the chewy, coconut-infused cake and the sweet, creamy custard is pure magic. I know this will become a new favorite in your dessert rotation! If you make this recipe, I would absolutely love to see it. Please snap a photo and share it on Pinterest or Instagram, and don’t forget to tag me!