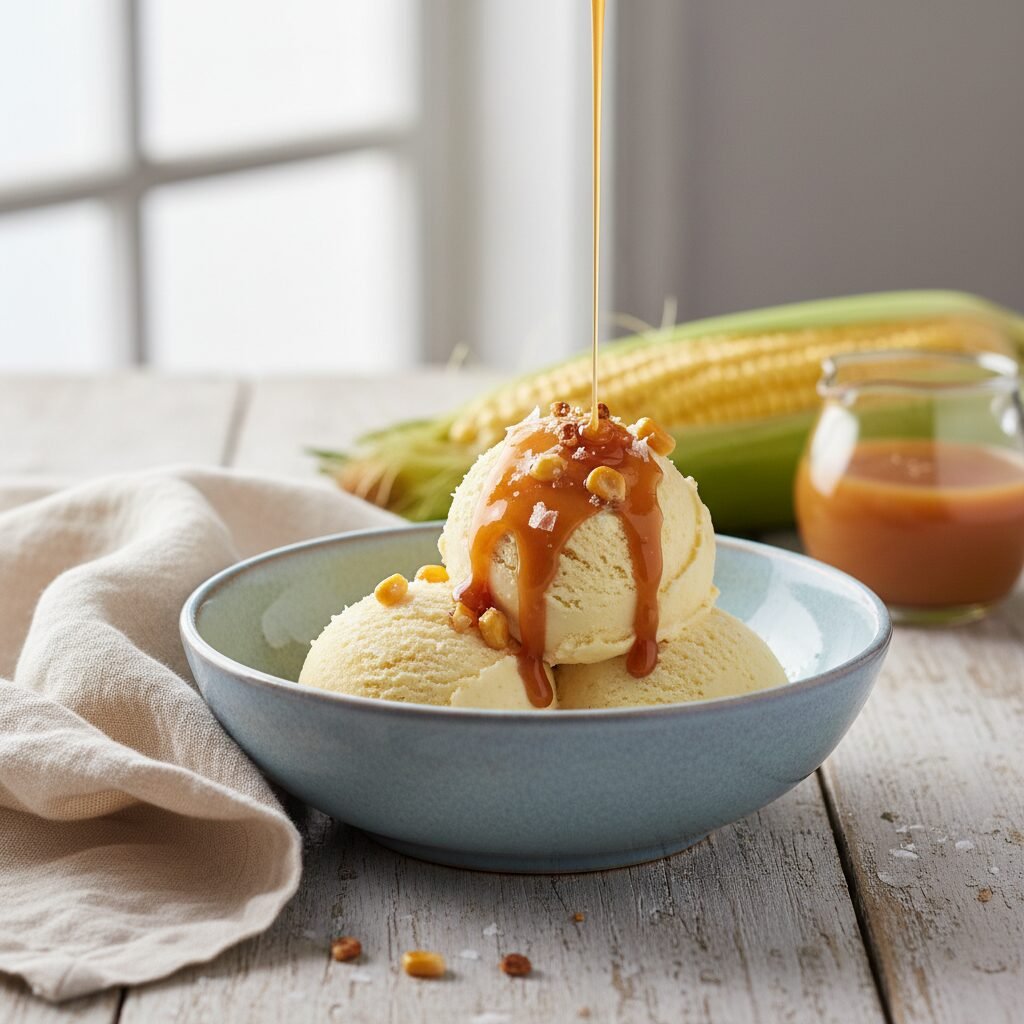
Creamy Dreamy Sweet Corn Ice Cream
Corn Ice Cream Recipe
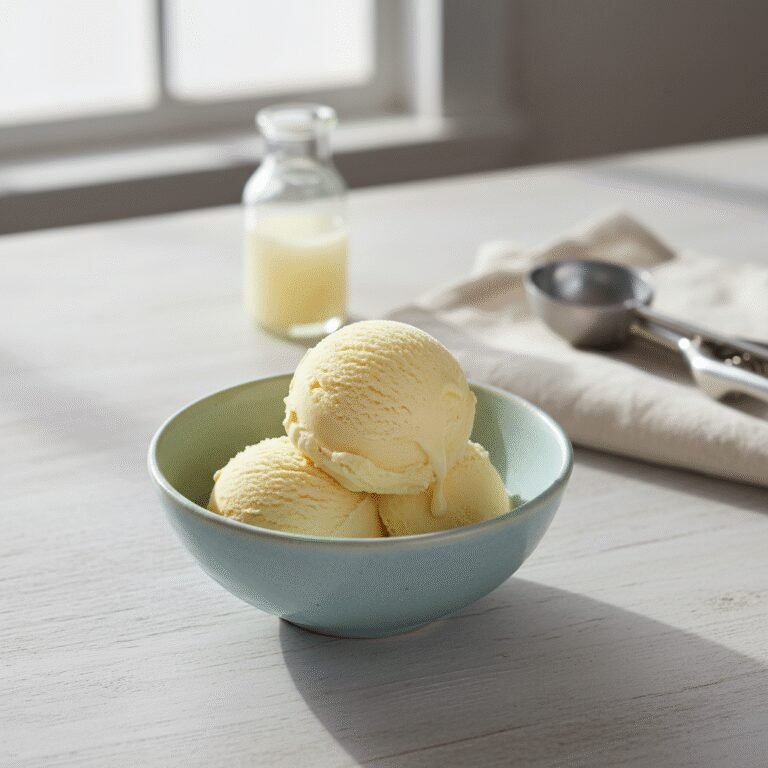
Get ready to fall in love with your new favorite summer dessert! This Creamy Dreamy Sweet Corn Ice Cream captures the golden, sun-kissed flavor of peak-season corn in a surprisingly sophisticated and utterly delicious frozen treat. It’s a unique, velvety-smooth ice cream that’s sweet, a little savory, and guaranteed to be the talk of your next get-together.
25 minutes
15 minutes
8 hours 40 minutes (includes 4 hours chilling and 4 hours freezing)
1.5 quarts (about 6 servings)
Dessert
Stovetop & Freezing
American
Gluten-Free
Why You’ll Love This Recipe
- ✓Uniquely sweet and savory flavor profile
- ✓Incredibly rich and velvety custard base
- ✓Perfect for using up summer’s best sweet corn
- ✓Works with or without an ice cream maker
Equipment You’ll Need
- ✓Large saucepan
- ✓High-powered blender
- ✓Fine-mesh sieve or strainer
- ✓Two large bowls (one for an ice bath)
- ✓Whisk
- ✓Spatula
- ✓Ice cream maker (optional)
- ✓Airtight, freezer-safe container (like a loaf pan)
Ingredients
- ✓3 ears of fresh sweet corn, shucked (about 3 cups of kernels)
- ✓2 cups heavy cream, divided
- ✓1 cup whole milk
- ✓3/4 cup granulated sugar
- ✓1/4 cup light corn syrup or honey
- ✓6 large egg yolks
- ✓1/4 teaspoon fine sea salt
- ✓1 teaspoon pure vanilla extract
Instructions
- First, prepare the corn. Using a sharp knife, carefully slice the kernels off the cobs. Place the kernels in a large saucepan. Then, take the bare cobs and snap them in half. Add the cobs to the saucepan as well – they are packed with milky, starchy flavor!
- Add 1 cup of the heavy cream and the 1 cup of whole milk to the saucepan with the corn kernels and cobs. Bring the mixture to a gentle simmer over medium heat, stirring occasionally. Once it simmers, reduce the heat to low, cover, and let it steep for 30 minutes to infuse the liquid with intense corn flavor.
- After steeping, remove and discard the corn cobs. Carefully pour the hot cream and corn kernel mixture into a high-powered blender. Blend on high for about 60 seconds, or until the mixture is as smooth as possible. Be sure to vent the blender lid to allow steam to escape.
- Set up a fine-mesh sieve over a clean bowl. Pour the blended corn mixture through the sieve, using a spatula to press down on the solids to extract every last drop of the flavorful liquid. Discard the solids left in the sieve. This step is crucial for a silky-smooth texture.
- Prepare an ice bath by filling a large bowl with ice and a little water. Place a smaller bowl inside it; this is where your finished custard will cool.
- In a separate medium bowl, whisk the 6 egg yolks and the 3/4 cup of sugar together until the mixture is pale yellow and slightly thickened, about 2 minutes. Set this aside.
- Pour the strained corn-infused liquid back into the saucepan. Add the remaining 1 cup of heavy cream, the corn syrup (or honey), and the salt. Warm this mixture over medium heat until it is hot to the touch and steaming, but not boiling.
- Now, temper the eggs. Slowly pour about one cup of the hot cream mixture into the egg yolk mixture while whisking constantly. This gently raises the temperature of the eggs without scrambling them. Once combined, pour the tempered egg mixture back into the saucepan with the rest of the hot cream.
- Cook the custard base over medium-low heat, stirring constantly with a spatula and scraping the bottom of the pan. Continue cooking until the mixture thickens enough to coat the back of the spatula, about 5-8 minutes. The temperature should reach 170-175°F on an instant-read thermometer. Do not let it boil!
- Immediately pour the finished custard through the fine-mesh sieve into the bowl set over the ice bath. This catches any bits of cooked egg and ensures a super smooth final product. Stir in the vanilla extract.
- Let the custard cool over the ice bath, stirring occasionally, for about 20 minutes. Then, cover the bowl with plastic wrap, pressing it directly onto the surface of the custard to prevent a skin from forming. Refrigerate for at least 4 hours, or preferably overnight, until completely cold.
- If using an ice cream maker, pour the chilled custard base into the machine and churn according to the manufacturer’s instructions until it reaches the consistency of soft-serve ice cream.
- If making without an ice cream maker (no-churn), pour the chilled base into a freezer-safe container (a metal loaf pan works great). Freeze for 45 minutes. Remove and whisk vigorously, breaking up any ice crystals. Return to the freezer. Repeat this process every 30-45 minutes for 2-3 hours until the ice cream is thick and frozen but still scoopable.
- Transfer the churned or whisked ice cream to an airtight, freezer-safe container. Press a piece of parchment paper or plastic wrap directly on the surface. Freeze for at least 4 hours, or until firm.
- Let the ice cream sit at room temperature for 5-10 minutes before scooping to soften slightly. Enjoy!
Expert Cooking Tips
- ✓Use the freshest, sweetest corn you can find. Peak-season summer corn will give you the most vibrant and authentic flavor.
- ✓Don’t skip steeping the cobs! They release a milky starch that adds a huge amount of corn flavor and contributes to a creamy texture.
- ✓Chilling the custard base overnight is highly recommended. A thoroughly chilled base churns faster and results in a creamier ice cream with fewer ice crystals.
- ✓The corn syrup isn’t just for sweetness; it’s an invert sugar that helps prevent the ice cream from freezing too hard, keeping it smooth and scoopable.
Substitutions and Variations
For a different flavor profile, you can swap the honey for maple syrup or brown butter before chilling. If fresh corn isn’t available, you can use 3 cups of frozen sweet corn; just thaw it first. For a dairy-free version, you can experiment with full-fat canned coconut milk and coconut cream in place of the milk and heavy cream, though this will alter the final flavor and texture, making it more coconut-forward.
Common Mistakes to Avoid
The most common mistake is cooking the custard at too high a heat or not stirring constantly, which can cause the eggs to scramble. Go low and slow, and never walk away from the stove. Another issue is not chilling the base completely before churning. A warm base will take forever to churn and can result in an icy, grainy texture. Patience is key!
Serving Suggestions
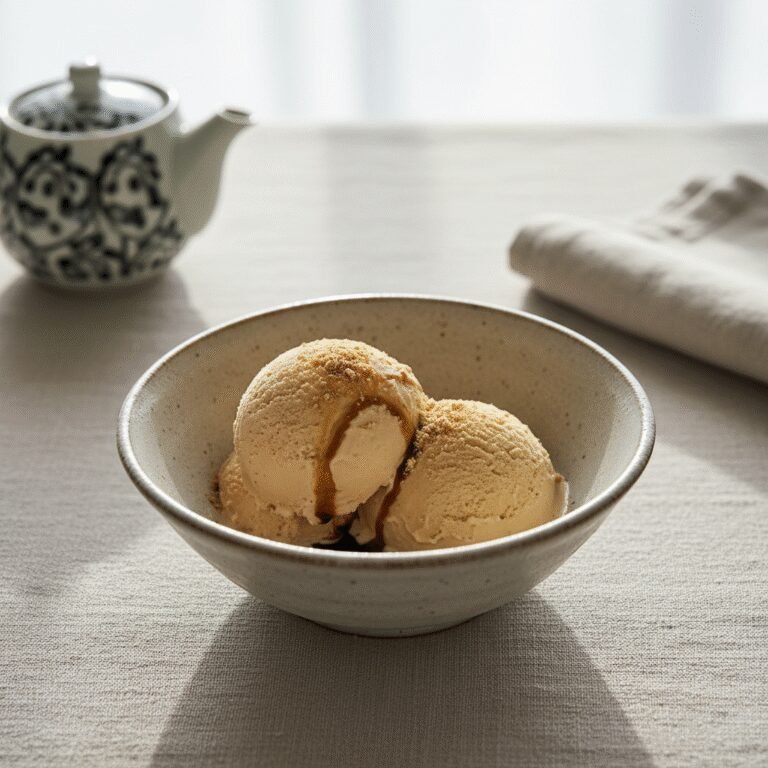
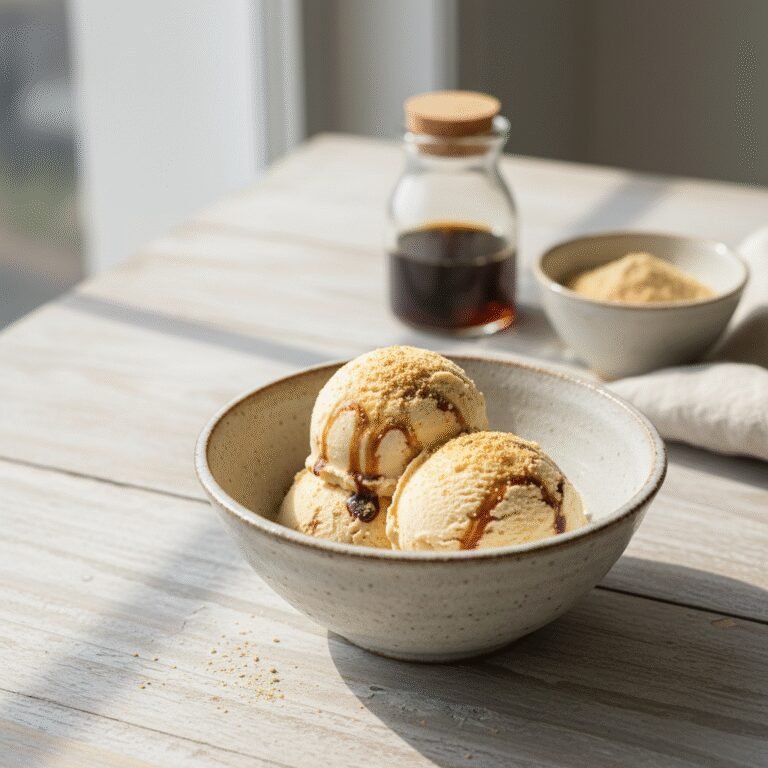
This sweet corn ice cream is fantastic on its own, but it truly shines when paired with other flavors. Serve a scoop alongside a warm blueberry cobbler or a slice of peach pie. For a show-stopping dessert, drizzle it with a rich caramel sauce and sprinkle with flaky sea salt or even some crumbled candied bacon for a sweet and savory masterpiece.
Storage and Reheating Tips
Store your homemade ice cream in an airtight container in the coldest part of your freezer (usually the back). To prevent ice crystals from forming, press a piece of plastic wrap or parchment paper directly onto the surface of the ice cream before sealing the lid. For the best flavor and texture, enjoy within 2 weeks.
Nutrition Facts (Estimated)
| Serving Size | 1 serving (approx. 1 cup) |
| Calories | 325 kcal |
| Fat | 22 g |
| Saturated Fat | 13 g |
| Unsaturated Fat | 8 g |
| Trans Fat | 0 g |
| Cholesterol | 185 mg |
| Sodium | 160 mg |
| Carbohydrates | 29 g |
| Fiber | 1 g |
| Sugar | 26 g |
| Protein | 5 g |
Frequently Asked Questions
Can I really make this without an ice cream maker?
Absolutely! The no-churn method requires a bit more hands-on time but yields a delicious result. The key is to break up the ice crystals as they form. Pour your chilled base into a metal loaf pan and freeze it, whisking it vigorously every 30-45 minutes for about 3 hours. This manual churning process incorporates air and keeps the texture smooth and creamy.
Why do I have to strain the mixture so many times?
Straining is the secret to an ultra-smooth, professional-quality ice cream. The first strain after blending removes the fibrous corn pulp, which would make the texture gritty. The second strain after cooking the custard is a safety net to catch any tiny bits of egg that may have accidentally cooked, ensuring a perfectly silky final product.
Can I use canned corn for this recipe?
It’s not recommended. Canned corn is often packed in a brine or syrup that will negatively affect the flavor of the ice cream. Fresh or frozen corn provides the pure, sweet flavor that makes this recipe so special. If you must, use canned corn that is packed in water only, and be sure to rinse it very thoroughly.
Can I add mix-ins to this ice cream?
Of course! Once the ice cream is finished churning (or during the last whisking step for the no-churn method), you can fold in mix-ins. A swirl of blackberry or raspberry jam would be incredible. You could also add toasted pecans, crumbled shortbread cookies, or even some fresh blueberries for a pop of flavor and texture.
Conclusion
There you have it – a truly special ice cream that turns a simple summer vegetable into an unforgettable dessert. It’s a taste of sunshine in every spoonful! If you make this Creamy Dreamy Sweet Corn Ice Cream, I would absolutely love to see it. Please tag me in your photos on Instagram and Pinterest so I can see your beautiful creations!