Flaky, Buttery Homemade Cuernos (Mexican Crescent Rolls)
Cuernos Recipe
Get ready to fill your kitchen with the irresistible aroma of a Mexican panadería! This recipe guides you through creating unbelievably flaky, buttery, and slightly sweet cuernos from scratch. Perfect for a special breakfast or a cozy afternoon treat, these golden crescents are a truly rewarding baking adventure.
45 minutes active, plus 4 hours chilling
18-22 minutes
About 5 hours 10 minutes
16 cuernos
Pastry
Baking
Mexican
N/A
Why You’ll Love This Recipe
- Incredibly flaky, with dozens of buttery layers
- Subtly sweet flavor, perfect with coffee
- A rewarding weekend baking project
- Brings the authentic taste of a Mexican bakery home
Equipment You’ll Need
- Stand mixer with dough hook attachment
- Large mixing bowl
- Plastic wrap
- Rolling pin
- Parchment paper
- Ruler or measuring tape
- Pizza cutter or sharp knife
- 2 large baking sheets
- Pastry brush
Ingredients
- For the Dough (Détrempe):
- 1/2 cup lukewarm whole milk (about 110°F or 43°C)
- 2 1/4 teaspoons (1 packet) active dry yeast
- 1/4 cup granulated sugar, divided
- 3 1/2 cups all-purpose flour, plus more for dusting
- 1 1/2 teaspoons fine sea salt
- 2 large eggs, room temperature
- 1/2 cup cool water
- 4 tablespoons unsalted butter, softened
- For the Butter Block (Beurrage):
- 1 1/4 cups (2.5 sticks) cold, high-fat unsalted butter (preferably European-style with 82% butterfat or higher)
- For the Egg Wash:
- 1 large egg
- 1 tablespoon whole milk or heavy cream
Instructions
- Step 1: Activate the Yeast. In the bowl of your stand mixer, combine the lukewarm milk, yeast, and 1 teaspoon of the granulated sugar. Gently stir and let it sit for 5-10 minutes until it becomes foamy and fragrant.
- Step 2: Make the Dough (Détrempe). To the yeast mixture, add the all-purpose flour, the remaining sugar, and the salt. Attach the dough hook and mix on low speed to combine. In a separate small bowl, whisk together the 2 eggs and cool water. With the mixer on low, slowly stream in the egg mixture. Continue to mix until a shaggy dough forms.
- Step 3: Knead the Dough. Add the 4 tablespoons of softened butter, one tablespoon at a time, waiting until each is incorporated before adding the next. Increase the speed to medium-low and knead for 8-10 minutes, until the dough is smooth, elastic, and pulls away from the sides of the bowl. The dough will be slightly sticky.
- Step 4: First Rise (and Chill). Lightly grease a large bowl. Form the dough into a ball and place it in the bowl, turning to coat. Cover tightly with plastic wrap and let it rise in a warm spot for 1 hour, or until it has slightly puffed up. Then, gently punch down the dough, re-cover, and refrigerate for at least 1 hour, or up to overnight. Chilling is crucial for making the dough easier to handle.
- Step 5: Prepare the Butter Block. While the dough is chilling, place the 1 1/4 cups of cold butter between two large sheets of parchment paper. Using a rolling pin, pound the butter to flatten it, then roll it into a rough 8×8 inch square. Tidy the edges with a bench scraper. Wrap it in the parchment and refrigerate until firm but still pliable, about 20-30 minutes.
- Step 6: Encase the Butter (Lamination – The Lock-in). Lightly flour your work surface. Turn out the chilled dough and roll it into a 12×12 inch square. Place the chilled butter block in the center, rotated 45 degrees like a diamond. Fold the four corners of the dough over the butter, meeting in the center. Pinch the seams together firmly to completely seal the butter inside. You should have a square packet.
- Step 7: The First Turn. Lightly flour your work surface again. Roll the dough packet into a long rectangle, about 24×8 inches. Be gentle but firm, rolling in one direction to create even layers. Perform a ‘letter fold’: fold the bottom third of the rectangle up to the middle, then fold the top third down over it, like folding a business letter. You will have a smaller, thicker rectangle.
- Step 8: Chill Again. Wrap the folded dough tightly in plastic wrap and refrigerate for 30-45 minutes. This allows the gluten to relax and the butter to firm up, preventing it from melting into the dough.
- Step 9: Second and Third Turns. Repeat the process of rolling the dough into a 24×8 inch rectangle, performing a letter fold, and chilling for 30-45 minutes two more times. For the second turn, rotate the dough 90 degrees before rolling. This completes the lamination process. After the third turn, chill the dough for at least 1-2 hours, or up to 24 hours.
- Step 10: Shape the Cuernos. Unwrap the final chilled dough and place it on a lightly floured surface. Roll it out into a large rectangle, about 16×20 inches and 1/4-inch thick. Use a ruler and pizza cutter to trim the edges neatly. Cut the rectangle in half lengthwise. Then, cut each long strip into triangles with a base of about 4-5 inches.
- Step 11: Roll the Crescents. Take one triangle and gently stretch the two corners of the base outwards slightly. Starting from the wide base, roll the triangle up towards the point. Place the shaped cuerno on a parchment-lined baking sheet with the tip tucked underneath to prevent it from unrolling. Gently curve the ends inwards to create the classic crescent shape. Repeat with the remaining triangles, placing them 3 inches apart on two baking sheets.
- Step 12: The Final Proof. Loosely cover the baking sheets with plastic wrap. Let the cuernos rise in a warm, draft-free place for 1.5 to 2 hours, or until they are visibly puffy and feel airy. When you gently poke one, the indentation should spring back slowly. They will not double in size, but they will look significantly plumper.
- Step 13: Prepare for Baking. Towards the end of the proofing time, preheat your oven to 400°F (200°C). In a small bowl, whisk together the egg and milk for the egg wash. Gently brush the tops and sides of each cuerno with the egg wash. Be careful not to let it pool around the base, as this can seal the layers.
- Step 14: Bake to Golden Perfection. Bake for 12 minutes, then rotate the pans and reduce the oven temperature to 375°F (190°C). Continue baking for another 6-10 minutes, or until the cuernos are a deep golden brown and feel light when lifted. The aroma will be incredible!
- Step 15: Cool and Enjoy. Let the cuernos cool on the baking sheets for a few minutes before transferring them to a wire rack to cool completely. They are absolutely divine when served warm.
Expert Cooking Tips
- Use High-Fat Butter: For the flakiest layers, use a European-style butter with at least 82% butterfat. It’s less watery and creates better separation between dough layers.
- Keep Everything Cold: The key to lamination is cold dough and cold butter. If at any point the butter feels like it’s melting or the dough becomes sticky and greasy, stop and return it to the refrigerator immediately.
- Measure by Weight: For the most accurate and consistent results in baking, especially with pastry, use a kitchen scale to measure your flour and butter.
- Gentle Rolling is Key: When rolling out the laminated dough, apply even, gentle pressure. Pressing too hard can cause the butter to break through the dough, ruining the layers.
- Don’t Skip the Chilling Times: Each chilling step is crucial. It allows the gluten in the dough to relax, making it easier to roll, and it ensures the butter stays solid, which is what creates those beautiful, distinct layers when baked.
Substitutions and Variations
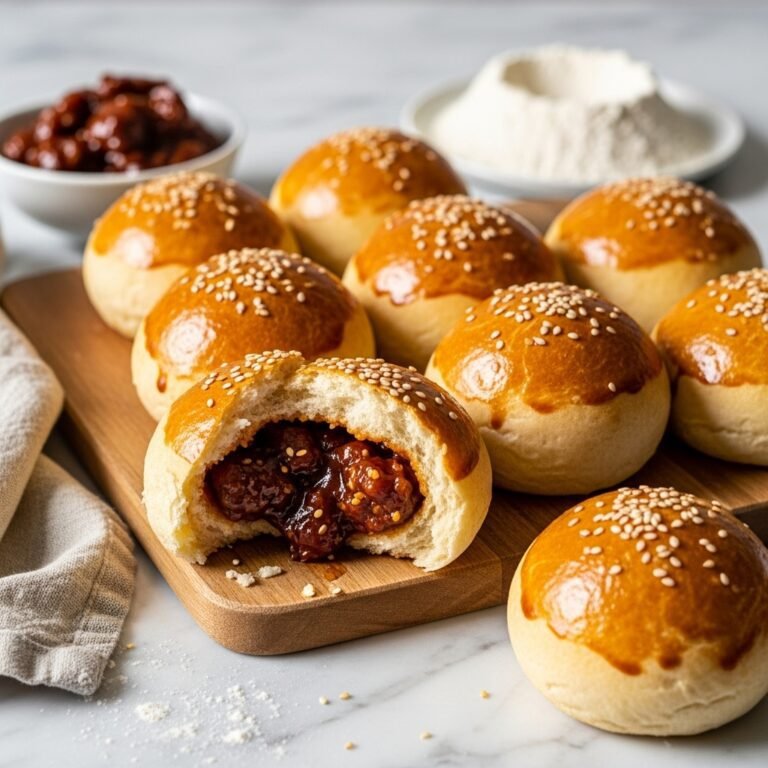
For the best, most authentic results, sticking to the core ingredients (all-purpose flour, active dry yeast, high-fat unsalted butter) is highly recommended. The structure of laminated dough is very specific. However, for a fun variation, you can add a thin chocolate baton or a small amount of ham and cheese to the base of the triangle before rolling them up to create delicious filled versions. For a richer flavor, you can substitute bread flour for the all-purpose flour.
Common Mistakes to Avoid
The most common mistake is butter leaking out during baking. This happens when the dough gets too warm during the lamination process, causing the butter to melt and merge with the dough instead of staying in separate layers. To avoid this, be diligent with your chilling times and work quickly in a cool kitchen. Another issue is a dense, bready texture, which is usually a sign of under-proofing. Make sure the cuernos look visibly puffy and airy before baking. Finally, avoid over-flouring your work surface, as too much extra flour can make the final pastry tough.
Serving Suggestions
Serve these cuernos warm from the oven for the ultimate experience. They are perfect on their own, but truly shine alongside a hot cup of cafe con leche or a rich Mexican hot chocolate. For a sweeter treat, split them open and spread with butter and strawberry jam, a drizzle of honey, or a generous spoonful of cajeta (Mexican caramel). They also make a fantastic base for a savory breakfast sandwich with scrambled eggs and cheese.
Storage and Reheating Tips
Cuernos are best enjoyed the day they are baked. Store any leftovers in a paper bag or a loosely covered container at room temperature for up to 2 days. To refresh them, warm in a 350°F (175°C) oven for 3-5 minutes. For longer storage, you can freeze the baked and cooled cuernos in a zip-top bag for up to a month. You can also freeze the unbaked, shaped cuernos on a baking sheet until solid, then transfer to a bag. Bake from frozen, adding 5-7 minutes to the baking time.
Nutrition Facts (Estimated)
| Serving Size | 1 cuerno |
| Calories | 285 kcal |
| Fat | 16 g |
| Saturated Fat | 10 g |
| Unsaturated Fat | 5 g |
| Trans Fat | 0.5 g |
| Cholesterol | 45 mg |
| Sodium | 210 mg |
| Carbohydrates | 30 g |
| Fiber | 1 g |
| Sugar | 8 g |
| Protein | 5 g |
Frequently Asked Questions
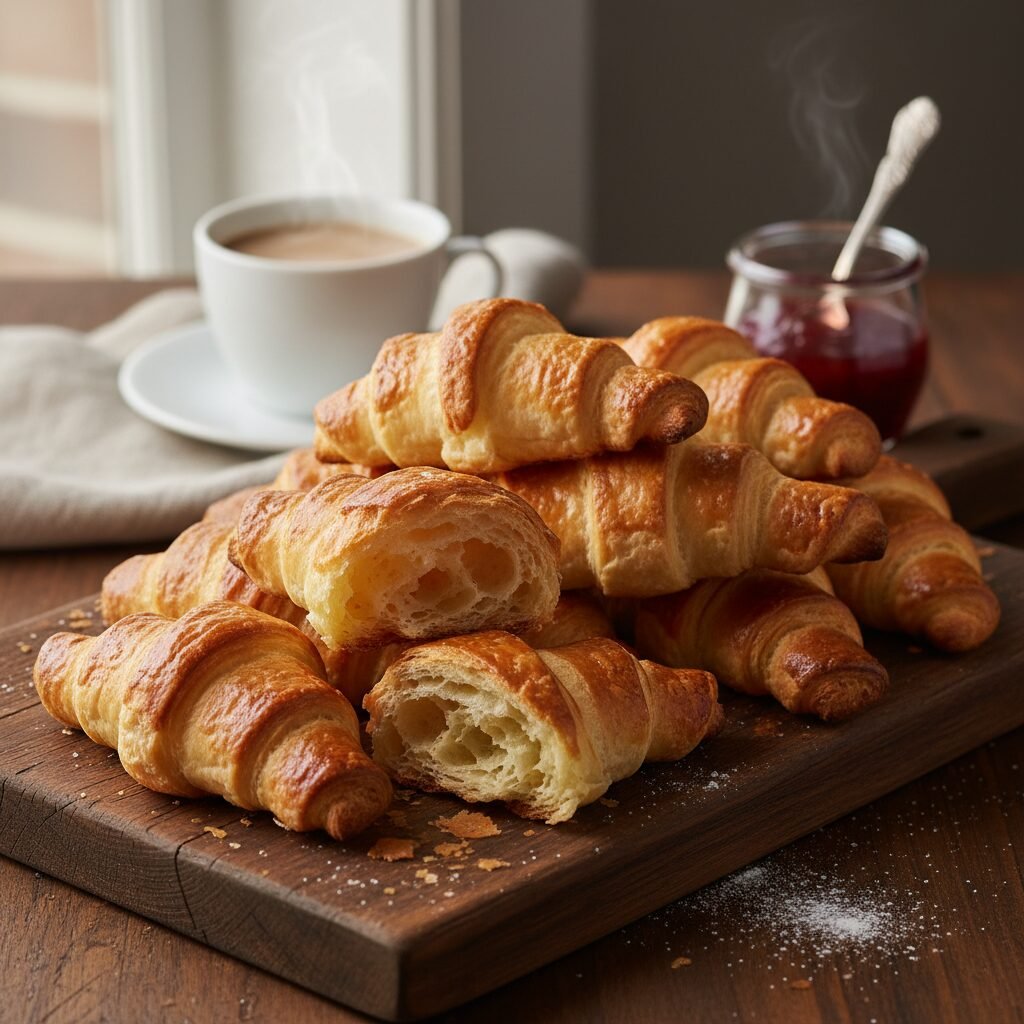
What’s the difference between cuernos and croissants?
They are very similar! Both are laminated pastries. Traditional French croissants are made with a leaner dough and rely almost exclusively on butter for their rich flavor. Mexican cuernos often have a slightly enriched dough, containing eggs and a bit more sugar, which gives them a softer crumb and a subtly sweeter taste.
Can I make the dough ahead of time?
Absolutely! The dough benefits from a long, cold fermentation. You can make the initial dough and let it chill in the fridge for up to 24 hours. You can also complete the lamination process and let the final dough block rest in the fridge for up to 24 hours before you roll, cut, and shape.
Why did my cuernos turn out dense instead of flaky?
This is almost always an issue with proofing. Either the yeast was not properly activated, or the final shaped pastries were not allowed to proof for long enough in a warm spot. They need to look noticeably puffy and feel light and airy before going into the hot oven to get that explosive oven spring that creates the flaky layers.
Can I use regular American-style butter?
You can, but the results won’t be as spectacular. American butter has a higher water content (around 80% butterfat). European-style butter (82% or higher) is firmer, more pliable when cold, and creates much more distinct, flaky layers. It’s worth seeking out for this recipe!
Conclusion
There’s nothing quite like the pride of pulling a tray of perfectly golden, homemade cuernos from your oven. The flaky layers, the buttery aroma, the soft interior—it’s pure magic. I hope this recipe inspires you to dive into the wonderful world of laminated pastry. If you make these, please share a photo on Pinterest or Instagram and tag me—I can’t wait to see your beautiful creations!