Velvety Sweet Red Bean Ice Cream (Easy Homemade Recipe)
Red Bean Ice Cream Recipe
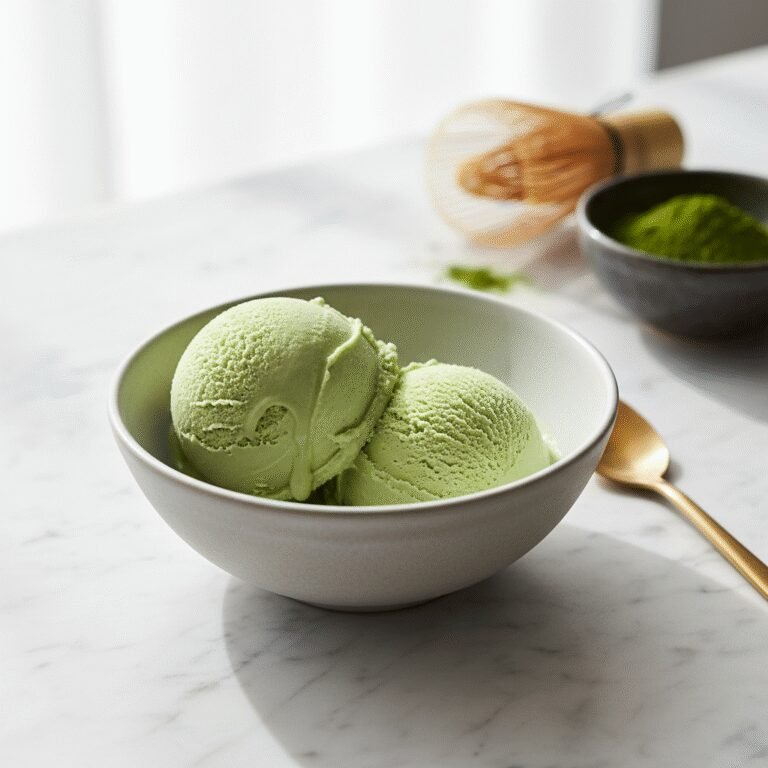
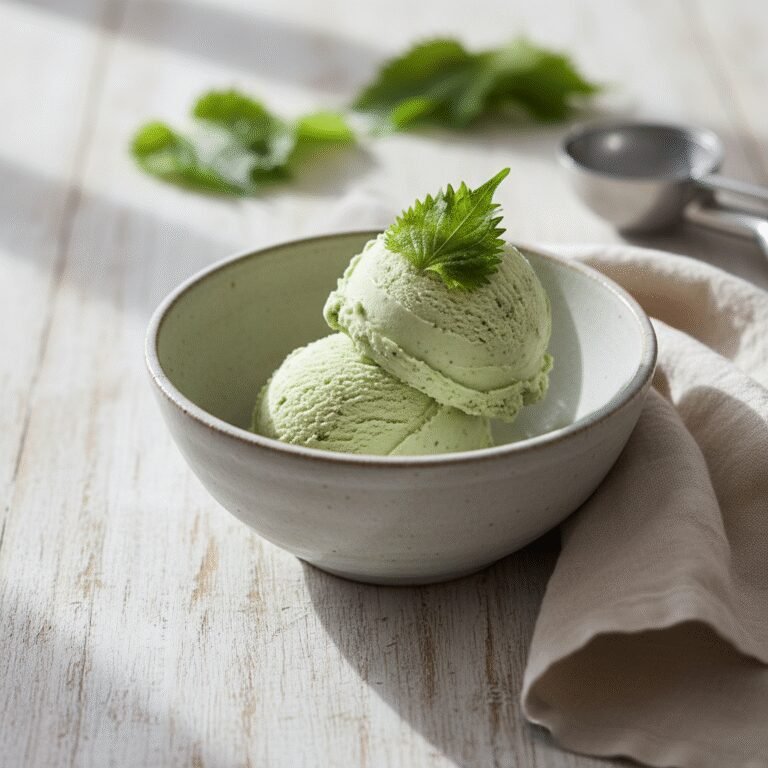
Get ready to fall in love with your new favorite frozen treat! This homemade Red Bean Ice Cream is unbelievably creamy, with a subtly sweet and nutty flavor from authentic azuki beans. It’s a uniquely delicious dessert that’s surprisingly simple to whip up for a taste of East Asian-inspired sweetness right in your own kitchen.
20 minutes
10 minutes
6 hours 30 minutes (includes freezing)
Makes 1 quart (about 8 servings)
Dessert
Ice Cream Maker
Japanese
Gluten-Free
Why You’ll Love This Recipe
- ✓Uniquely sweet, nutty, and earthy flavor
- ✓Incredibly rich and creamy texture
- ✓Surprisingly simple to make at home
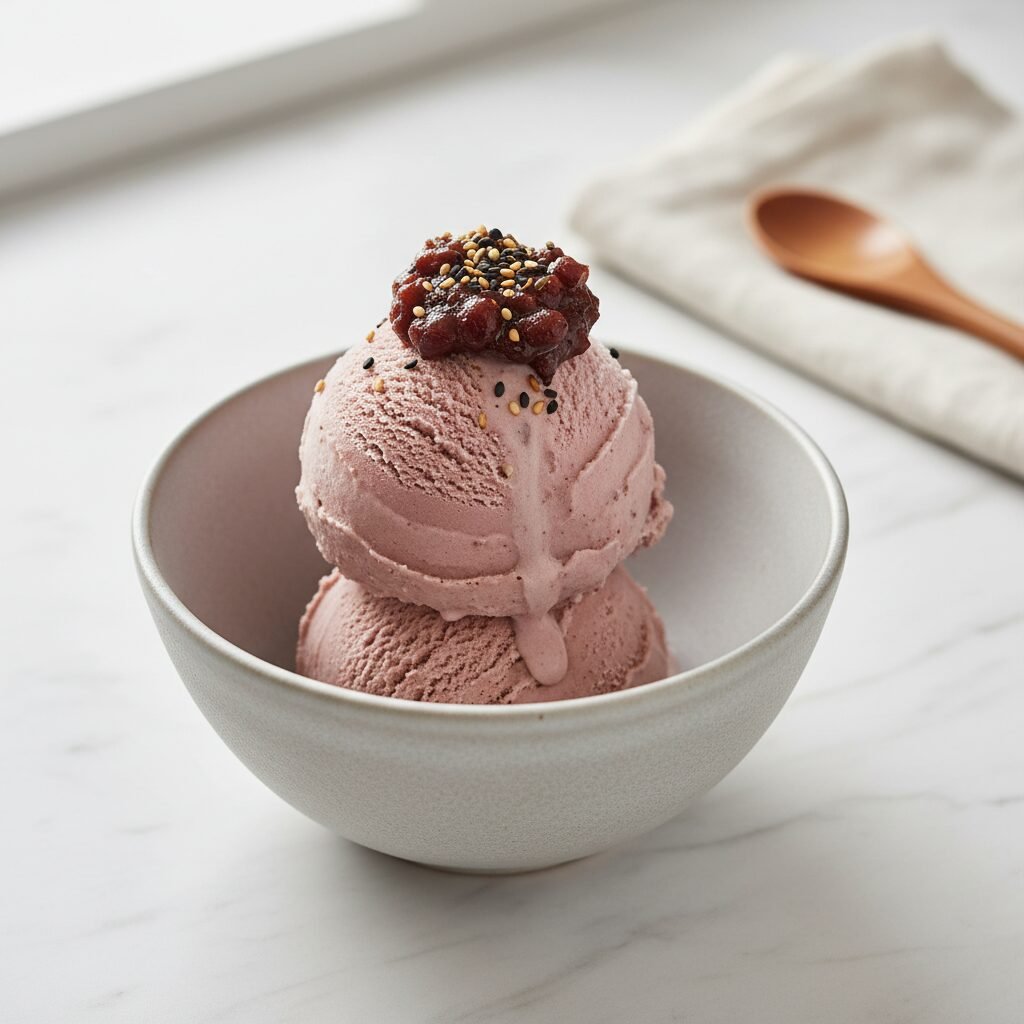
- ✓Beautiful, natural dusty rose color
Equipment You’ll Need
- ✓Ice cream maker (with a frozen bowl)
- ✓Large mixing bowl
- ✓Medium saucepan
- ✓Whisk
- ✓Silicone spatula
- ✓Fine-mesh sieve (optional, for an extra smooth base)
- ✓Airtight freezer-safe container (a 9×5 inch loaf pan works well)
Ingredients
- ✓2 cups heavy whipping cream, very cold
- ✓1 cup whole milk
- ✓1 (14-ounce) can sweetened condensed milk
- ✓1 cup sweetened red bean paste (anko), smooth or chunky
- ✓1 teaspoon pure vanilla extract
- ✓1/8 teaspoon fine sea salt
Instructions
- First things first, make sure the bowl of your ice cream maker has been frozen solid according to the manufacturer’s instructions, usually for at least 24 hours.
- In a medium saucepan, combine the whole milk, sweetened condensed milk, sweetened red bean paste, and salt.
- Warm the mixture over medium-low heat, whisking constantly, until the red bean paste has completely dissolved and the mixture is smooth. Do not let it boil.
- Remove the pan from the heat and stir in the vanilla extract. For an ultra-smooth texture, you can pour the mixture through a fine-mesh sieve into a large bowl, but this step is optional.
- Cover the bowl with plastic wrap, pressing it directly onto the surface of the mixture to prevent a skin from forming. Refrigerate until thoroughly chilled, at least 4 hours, but preferably overnight.
- Once the red bean base is completely cold, pour the cold heavy whipping cream into a separate large bowl (or the bowl of a stand mixer fitted with the whisk attachment).
- Whip the cream until it forms medium-stiff peaks. Be careful not to over-whip it into butter.
- Gently fold about one-third of the whipped cream into the chilled red bean base to lighten it. Then, carefully fold in the remaining whipped cream until just combined and no streaks remain.
- Pour the final mixture into your frozen ice cream maker bowl and churn according to the manufacturer’s directions, typically for 20-25 minutes, or until it reaches the consistency of thick soft-serve ice cream.
- Transfer the churned ice cream into your airtight, freezer-safe container. Smooth the top with a spatula.
- Press a piece of parchment paper or plastic wrap directly onto the surface of the ice cream to prevent ice crystals from forming.
- Seal the container and freeze for at least 4-6 hours, or until firm enough to scoop. Enjoy!
Expert Cooking Tips
- ✓For the creamiest possible result, chill everything! Use very cold cream, a thoroughly chilled base, and a rock-solid frozen ice cream maker bowl.
- ✓Choose your paste wisely! Smooth red bean paste (koshian) will give you a uniform color and texture, while chunky paste (tsubuan) adds delightful little bites of whole beans throughout.
- ✓Don’t rush the chilling process for the base. An overnight chill in the fridge allows the flavors to meld beautifully and ensures the mixture is cold enough to churn properly.
- ✓For a slightly softer scoop, you can add 1 tablespoon of a neutral spirit like vodka or a complementary liqueur like cherry kirsch to the base before churning. The alcohol helps lower the freezing point.
Substitutions and Variations
To make this dairy-free, substitute the heavy cream with 2 cups of chilled, full-fat canned coconut cream (use only the solid part) and the whole milk with a creamy nut milk like cashew. Use a can of sweetened condensed coconut milk in place of the dairy version. The result will have a subtle coconut flavor that pairs wonderfully with the red bean.
Common Mistakes to Avoid
The most common mistake is not chilling the ice cream base long enough before churning. A lukewarm base will not freeze correctly in the maker, leading to a soupy or icy final product. Another pitfall is over-churning; stop as soon as it looks like thick soft-serve, as over-churning can break down the air you’ve incorporated and affect the texture. Finally, always use an airtight container for storage to avoid dreaded freezer burn.
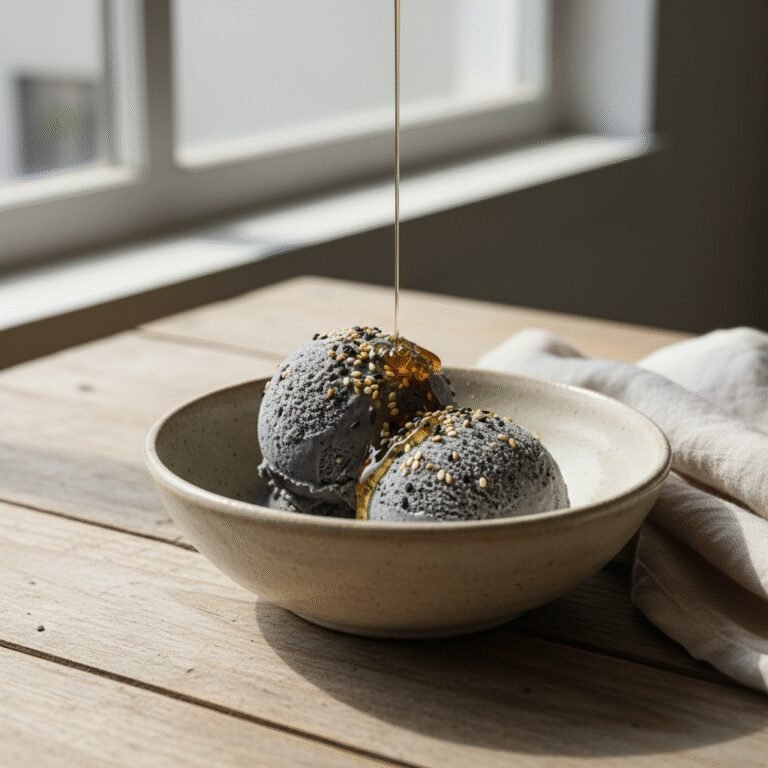
Serving Suggestions
Serve beautiful scoops in chilled bowls topped with a sprinkle of toasted black sesame seeds for a nutty crunch. For an extra decadent treat, add a small dollop of extra red bean paste on top, or serve it alongside fresh berries or a slice of matcha roll cake. It’s also absolutely divine when used to make an ice cream sandwich with soft, chewy cookies.
Storage and Reheating Tips
Store your homemade ice cream in an airtight container in the coldest part of your freezer (usually the back). It’s best enjoyed within 1-2 weeks for optimal flavor and texture. Always press a layer of plastic wrap or parchment paper directly on the surface of the ice cream before sealing the lid—this is the secret to preventing ice crystals!
Nutrition Facts (Estimated)
| Serving Size | 1/2 cup |
| Calories | 285 kcal |
| Fat | 18 g |
| Saturated Fat | 11 g |
| Unsaturated Fat | 6 g |
| Trans Fat | 0 g |
| Cholesterol | 65 mg |
| Sodium | 85 mg |
| Carbohydrates | 27 g |
| Fiber | 3 g |
| Sugar | 24 g |
| Protein | 4 g |
Frequently Asked Questions
Can I make this red bean ice cream without an ice cream maker?
Absolutely! For a no-churn version, prepare the red bean base (milk, condensed milk, paste, salt, vanilla) and chill it. Whip the heavy cream to stiff peaks. Gently fold the whipped cream into the chilled red bean base. Pour into a freezer-safe container, cover, and freeze for 5-6 hours. For a creamier texture, stir it vigorously every 45-60 minutes for the first 3 hours to break up ice crystals.
Where can I buy sweetened red bean paste (anko)?
You can find sweetened red bean paste at most Asian supermarkets or online. It’s typically sold in cans or vacuum-sealed pouches. Look for either ‘koshian’ (smooth paste) or ‘tsubuan’ (chunky paste) depending on your texture preference.
Why does my homemade ice cream get hard as a rock in the freezer?
Homemade ice cream lacks the commercial stabilizers that keep store-bought versions soft. The high water content freezes solid. To help, let the ice cream sit on the counter for 5-10 minutes before scooping. Also, ensuring you have enough fat and sugar in the recipe helps create a softer final product, which this recipe is balanced to do.
Conclusion
There’s something truly special about scooping up a bowl of ice cream you made from scratch, and this Red Bean Ice Cream is no exception. Its unique, comforting flavor is a wonderful departure from the usual and is sure to impress anyone who tries it. If you make this creamy, dreamy dessert, please snap a photo and share it on Pinterest or Instagram—I can’t wait to see your gorgeous creations!