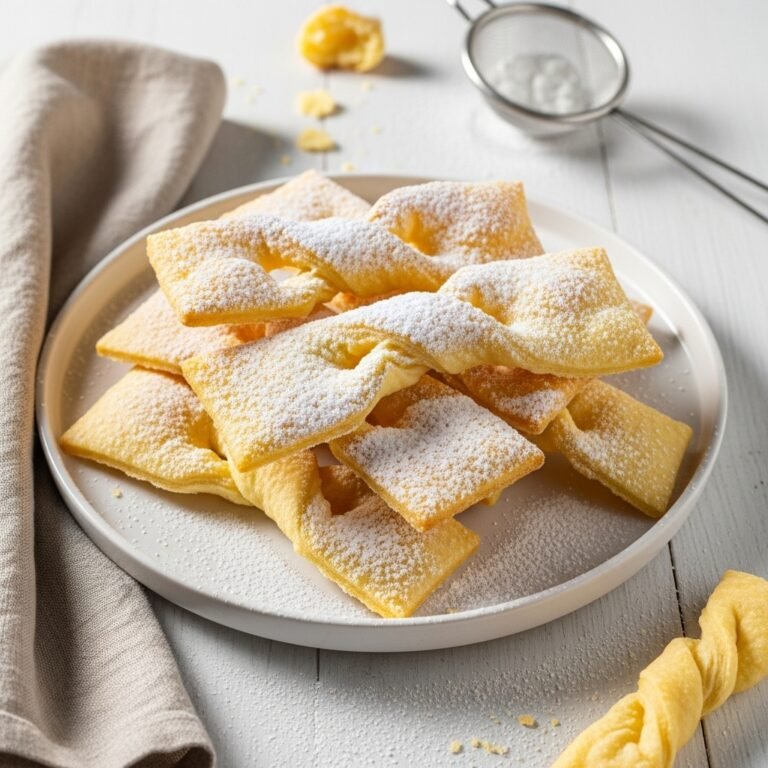
Soft & Pretty Sakura Mochi for a Touch of Spring at Home
There’s something magical about sakura mochi. It’s soft, subtly sweet, and wrapped in a delicate pickled cherry blossom leaf that feels like springtime in every bite. If you’ve ever wanted to recreate this gentle, floral treat at home, you’ll love how beginner-friendly and calming the process is. Think tender pink mochi, a smooth red bean center, and that whisper of floral aroma that creates the most soothing dessert experience.
Why You’ll Love This Sakura Mochi
Sakura mochi has a unique charm—lightly chewy on the outside, creamy and sweet inside. The salted cherry leaf brings the flavors together in a surprising way: sweet, floral, and just a hint savory. It’s one of those desserts that looks elegant but doesn’t require professional skills.
Quick Highlights
- Taste: Soft, sweet, lightly floral, with a hint of saltiness
- Texture: Chewy mochi outside and smooth red bean paste inside
- Time: About 35–40 minutes
- Difficulty: Beginner-friendly
- What Makes It Special: Seasonal Japanese dessert that’s beautiful, gentle, and fun to shape
Ingredients
For the mochi:
- 1 cup glutinous rice flour (mochiko)
- 3/4 cup water
- 1/4 cup sugar
- 1–2 drops red or pink food coloring
For the filling:
- 3/4 cup sweet red bean paste (anko)
For wrapping:
- 8–10 pickled sakura leaves, rinsed and patted dry
Step-by-Step Instructions
- Prep the filling. Divide the red bean paste into 8–10 small balls, about 1 tablespoon each. Chill them in the fridge to firm up.
- Mix the mochi dough. In a microwave-safe bowl, whisk together the glutinous rice flour, sugar, and water until smooth. Add a drop or two of pink food coloring.
- Cook the mochi. Microwave the mixture for 1 minute, stir, then heat again for 1 more minute. Stir once more, then microwave for an additional 30–60 seconds until the dough becomes thick, glossy, and sticky.
- Let it cool slightly. Once the dough is cool enough to handle, dust a work surface with cornstarch or potato starch.
- Divide the dough. Turn the mochi onto your surface and divide it into 8–10 equal portions.
- Shape the mochi. Flatten one portion into a circle using lightly dusted fingers.
- Add the filling. Place a chilled red bean ball in the center and gently fold the mochi around it, pinching to seal.
- Wrap with sakura leaves. Lay a cherry leaf flat and wrap it around the mochi ball, seam side down.
- Serve and enjoy. Sakura mochi is delicious at room temperature or slightly chilled.
Helpful Cooking Tips
- Dust your hands well to prevent sticking.
- If the mochi feels too sticky, give it a minute to cool—temperature makes a big difference.
- Slightly flattening the mochi before adding the filling helps keep the shape round.
- Rinse the sakura leaves lightly to mellow the saltiness.
Ingredient Substitutions & Dietary Options
- Red bean paste: Swap with white bean paste or even a dollop of fruit jam for a lighter flavor.
- Sakura leaves: If you can’t find them, skip the leaf and serve the mochi plain with a sprinkle of edible flowers.
- Food coloring: Beet powder makes a natural pink hue.
- Vegan-friendly: The recipe is naturally vegan.
- Gluten-free: Mochiko is gluten-free, so the entire recipe is suitable.
Common Mistakes to Avoid
- Overheating the mochi: It can turn rubbery—stick to short microwave intervals.
- Skipping the starch coating: Mochi will cling to everything without it.
- Not chilling the filling: Warm filling makes shaping much harder.
- Using too much water: Keep measurements accurate for soft but workable dough.
Serving Suggestions
- Serve with warm green tea or iced matcha.
- Add a few edible blossoms for a spring-themed plate.
- Arrange on a small wooden tray with parchment for a café-style look.
- Pair with fresh strawberries or sliced peaches for color contrast.
Storage & Reheating Tips
- Room temperature: Best eaten within 24 hours.
- Refrigeration: Store in an airtight container for up to 2 days, but expect slightly firmer texture.
- Freezing: Not recommended—the texture becomes tough.
- Reheating: No reheating needed; allow refrigerated mochi to come to room temperature before serving.
FAQ
Can I make sakura mochi without the leaf? Absolutely. The leaf adds aroma and a little saltiness, but the mochi itself is delicious on its own.
Can I use store-bought mochi instead? You can, but freshly made mochi has a softer, fluffier texture.
Can kids help make this? Yes! Shaping and coloring the mochi is fun and hands-on.
Final Thoughts
Sakura mochi is one of those desserts that brings a bit of calm joy to your kitchen. The process is simple, the flavors are gentle, and the presentation feels special every time. Whether you make it for a seasonal celebration or just because you’re craving something pretty, it’s a lovely treat to enjoy and share.
Quick Summary
Soft, chewy pink mochi with a sweet red bean center wrapped in a lightly salted sakura leaf. A spring-inspired Japanese confection that’s simple, floral, and memorable.
If you love this recipe, feel free to share it on Pinterest or tag it on your social feeds—I’d love to see your sakura mochi creations!