Creamy Umami Swirl: Salty-Sweet Soy Sauce Ice Cream
Soy Sauce Ice Cream Recipe
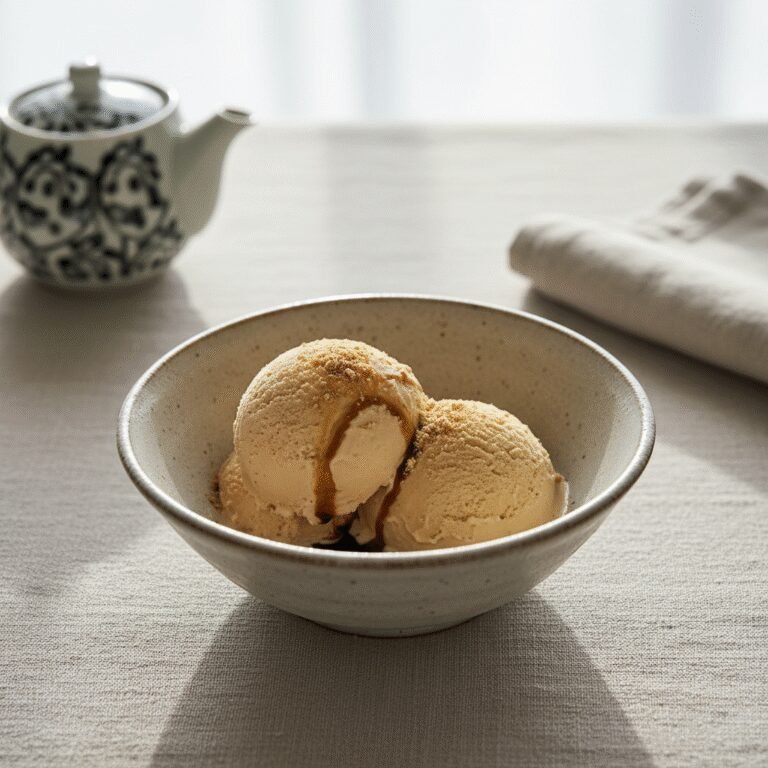
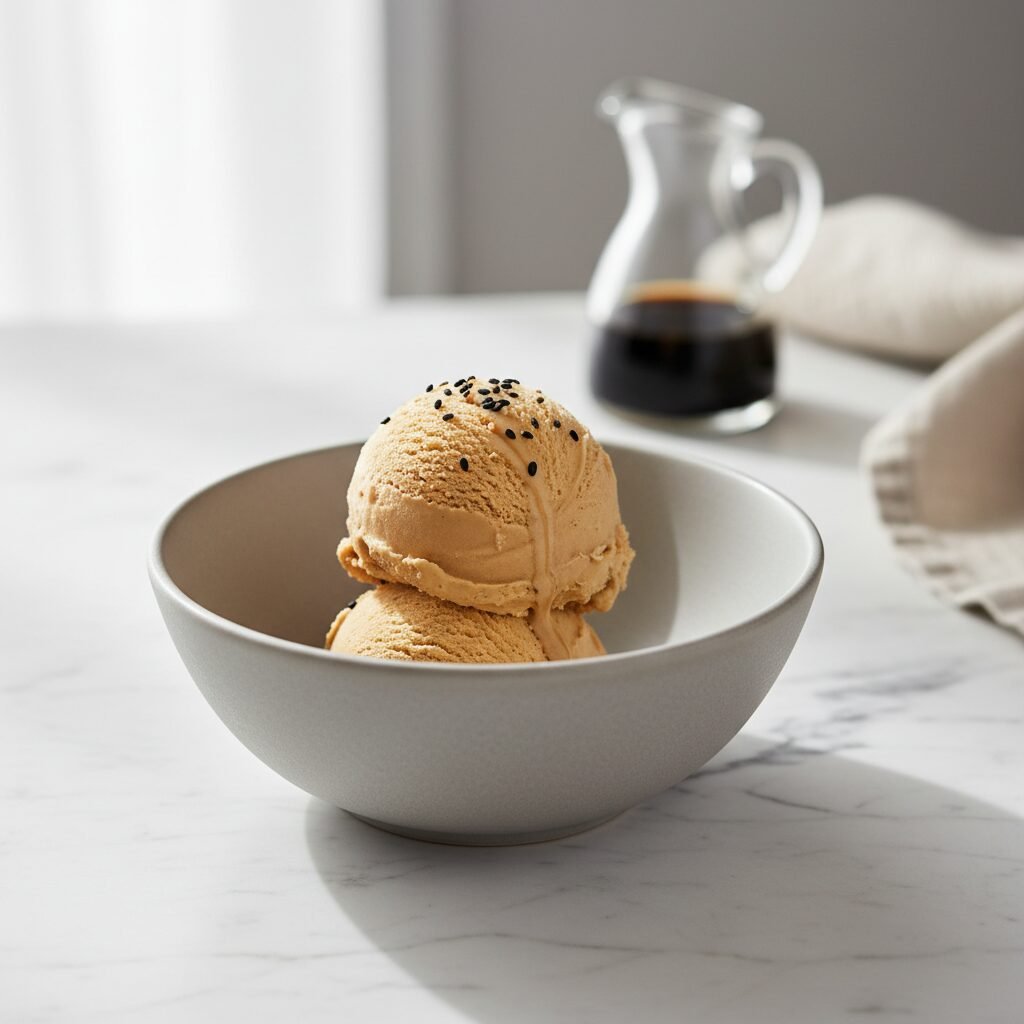
Get ready for your new favorite dessert obsession! This Soy Sauce Ice Cream is a mind-blowingly delicious treat that perfectly balances salty, sweet, and savory umami flavors into one incredibly creamy scoop. If you love salted caramel, you will be absolutely captivated by this sophisticated, gourmet-style ice cream that’s surprisingly simple to make at home.
20 minutes
15 minutes
6 hours 35 minutes (includes 6 hours chilling and freezing)
1 quart (about 8 servings)
Dessert
Stovetop & Freezing
Fusion
N/A
Why You’ll Love This Recipe
- ✓A unique salty-sweet flavor reminiscent of salted caramel.
- ✓Incredibly rich and creamy custard-based texture.
- ✓A sophisticated, gourmet dessert that’s easy to master.
- ✓The ultimate conversation-starting treat for any occasion.
Equipment You’ll Need
- ✓Ice cream maker
- ✓Medium saucepan
- ✓Two medium mixing bowls (one for an ice bath)
- ✓Whisk
- ✓Fine-mesh sieve
- ✓Silicone spatula
- ✓Airtight freezer-safe container (like a loaf pan)
Ingredients
- ✓2 cups heavy cream, chilled
- ✓1 cup whole milk
- ✓3/4 cup granulated sugar, divided
- ✓5 large egg yolks
- ✓3 tablespoons high-quality Japanese soy sauce (or Tamari for gluten-free)
- ✓1 teaspoon pure vanilla extract
Instructions
- Prepare an ice bath by filling a large bowl with ice and a little water. Place a medium bowl inside it and set a fine-mesh sieve over the top. Set aside.
- In a medium saucepan, combine the heavy cream, whole milk, and 1/2 cup of the granulated sugar. Warm over medium heat, stirring occasionally, until the sugar has dissolved and the mixture is steaming (do not let it boil).
- While the cream mixture is heating, whisk the egg yolks and the remaining 1/4 cup of sugar in a separate bowl until the mixture is pale yellow and slightly thickened.
- Temper the eggs: Slowly and carefully, pour about one cup of the hot cream mixture into the egg yolk mixture while whisking constantly. This gently raises the temperature of the eggs without scrambling them.
- Pour the tempered egg mixture back into the saucepan with the remaining cream. Cook over low-medium heat, stirring constantly with a silicone spatula, scraping the bottom and sides of the pan.
- Continue cooking until the custard thickens enough to coat the back of the spatula (about 170-175°F on an instant-read thermometer). This should take 5-8 minutes. Do not let it boil.
- Immediately pour the hot custard through the fine-mesh sieve into the chilled bowl set over the ice bath. This catches any bits of cooked egg and ensures a silky-smooth texture.
- Stir the custard in the ice bath for a few minutes to help it cool down. Once it’s no longer piping hot, whisk in the soy sauce and vanilla extract until fully combined.
- Cover the custard with plastic wrap, pressing it directly onto the surface to prevent a skin from forming. Chill in the refrigerator for at least 4 hours, or preferably overnight, until completely cold.
- Once the base is thoroughly chilled, pour it into your ice cream maker and churn according to the manufacturer’s instructions until it reaches the consistency of soft-serve ice cream.
- Transfer the churned ice cream to an airtight, freezer-safe container. Press a piece of parchment paper onto the surface to prevent ice crystals.
- Freeze for at least 2-4 hours, or until firm enough to scoop. Enjoy your homemade gourmet ice cream!
Expert Cooking Tips
- ✓Use a premium, naturally brewed soy sauce. The flavor is the star here, so a high-quality brand will make a huge difference, offering complex umami notes rather than just saltiness.
- ✓Don’t rush the chilling process! A thoroughly chilled custard base will churn faster and result in a creamier, less icy final product. Overnight is best.
- ✓Keep a close eye on your custard as it cooks. It can go from perfectly thickened to scrambled in a matter of seconds. Constant, gentle stirring is key.
- ✓Freeze your storage container and the dasher of your ice cream maker for at least 24 hours before you start. Everything should be as cold as possible for the best texture.
Substitutions and Variations
For a gluten-free version, use Tamari, which is a Japanese soy sauce typically made without wheat and has a rich, mellow flavor. While the egg yolks are crucial for the creamy, custard texture, you could experiment with a Philadelphia-style (eggless) base, but it will be less rich. For a dairy-free attempt, you can try using a combination of full-fat canned coconut milk and coconut cream, though this will significantly alter the flavor profile, adding a coconut note.
Common Mistakes to Avoid
The most common mistake is scrambling the eggs. To avoid this, temper the yolks by adding the hot cream mixture very slowly while whisking vigorously. Another frequent issue is an icy texture, which usually happens if the custard base isn’t chilled completely before churning or if the fat content is too low. Lastly, avoid using a cheap, harsh soy sauce; it will make the ice cream taste overly salty and one-dimensional instead of complex and caramel-like.
Serving Suggestions
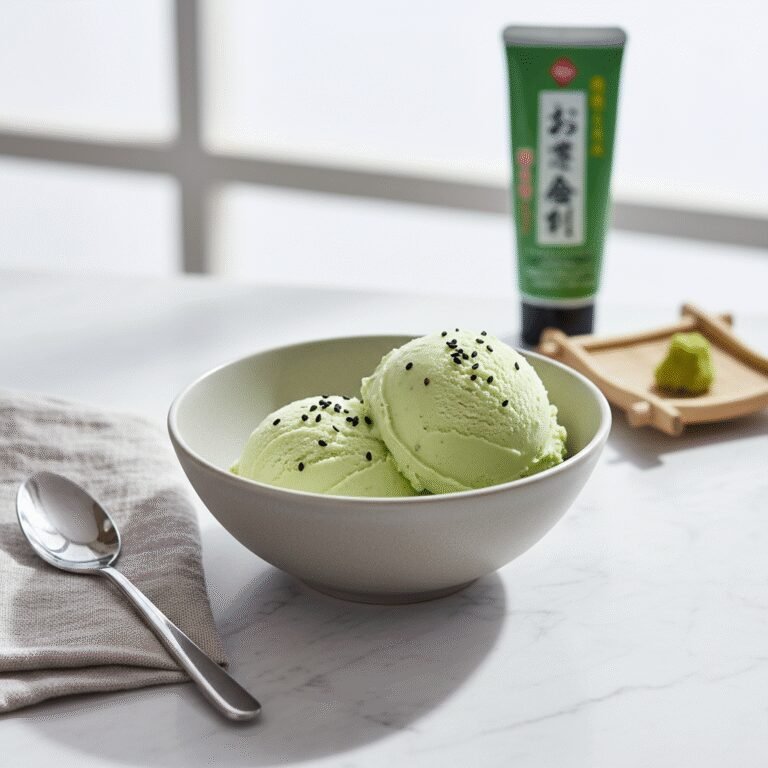
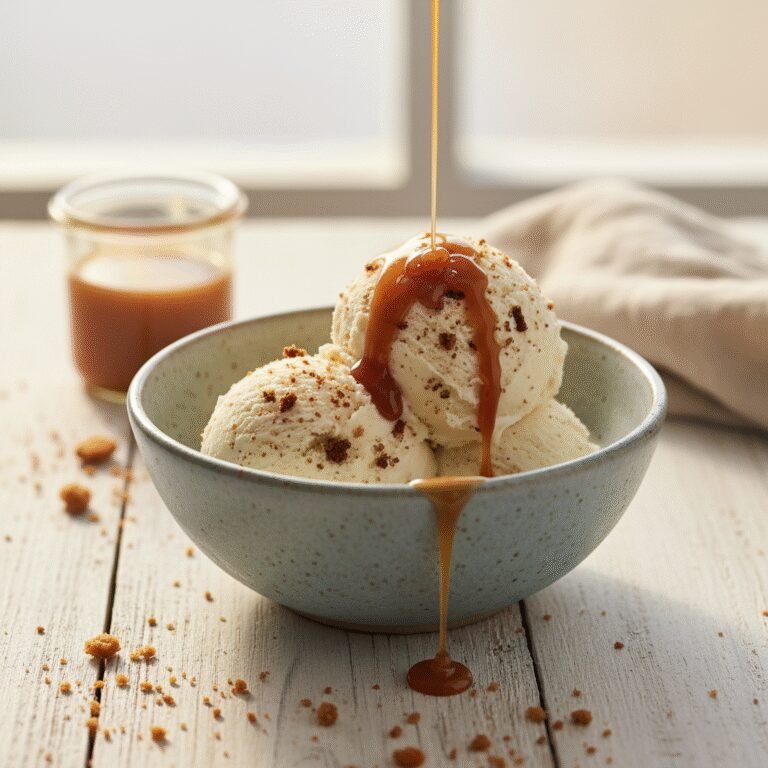
This ice cream is a showstopper on its own, but it pairs beautifully with other textures and flavors. Serve a scoop with a drizzle of miso caramel or dark honey, a sprinkle of toasted black sesame seeds, or some crunchy candied pecans. It’s also fantastic alongside a simple shortbread cookie, a slice of olive oil cake, or even with some fresh grilled peaches in the summer.
Storage and Reheating Tips
Store your homemade soy sauce ice cream in an airtight container in the coldest part of your freezer (usually the back). To prevent ice crystals from forming and maintain a creamy texture, press a piece of plastic wrap or parchment paper directly onto the surface of the ice cream before sealing the container. For the best flavor and texture, enjoy it within two weeks.
Nutrition Facts (Estimated)
| Serving Size | 1/2 cup |
| Calories | 285 kcal |
| Fat | 19 g |
| Saturated Fat | 11 g |
| Unsaturated Fat | 7 g |
| Trans Fat | 0 g |
| Cholesterol | 125 mg |
| Sodium | 260 mg |
| Carbohydrates | 24 g |
| Fiber | 0 g |
| Sugar | 22 g |
| Protein | 5 g |
Frequently Asked Questions
Wait, is soy sauce in ice cream actually good?
Yes, it’s absolutely delicious! Don’t think of it as savory or salty in a weird way. Think of it like salted caramel’s more sophisticated, intriguing cousin. The soy sauce adds a deep, savory umami note that enhances the sweetness and creates an incredibly complex and addictive flavor.
Can I make this recipe without an ice cream maker?
You can! For a no-churn version, prepare the custard base and chill it as directed. Then, pour the chilled base into a shallow, freezer-safe dish. Freeze for 45 minutes, then remove and stir vigorously with a whisk or fork, breaking up any ice crystals. Repeat this process every 30-45 minutes for 3-4 hours, until the ice cream is firm but smooth. The texture won’t be quite as silky as a churned version, but it will still be delicious.
What kind of soy sauce is best for this recipe?
A high-quality, naturally brewed Japanese soy sauce (shoyu) is highly recommended. Brands like Kikkoman or Yamasa are great accessible options. Avoid dark or overly sweet soy sauces. A good quality Tamari is the perfect gluten-free alternative and provides a wonderful, rich flavor.
Why did my ice cream turn out icy instead of creamy?
Iciness is usually caused by large ice crystals. This can happen for a few reasons: the custard base wasn’t cold enough before churning, your ice cream maker bowl wasn’t fully frozen, or the recipe’s fat content was too low. Ensure your base is chilled overnight for best results and that you use full-fat heavy cream and whole milk.
Conclusion
Diving into a bowl of this creamy, salty-sweet Soy Sauce Ice Cream is an unforgettable experience that will challenge and delight your taste buds. It’s the kind of simple, elegant dessert that feels incredibly special. If you make this recipe, I would be thrilled to see it! Please share a photo and tag me on Pinterest and Instagram so I can see your beautiful creation.