Creamy Purple Dream: Homemade Taro Ice Cream
Taro Ice Cream Recipe
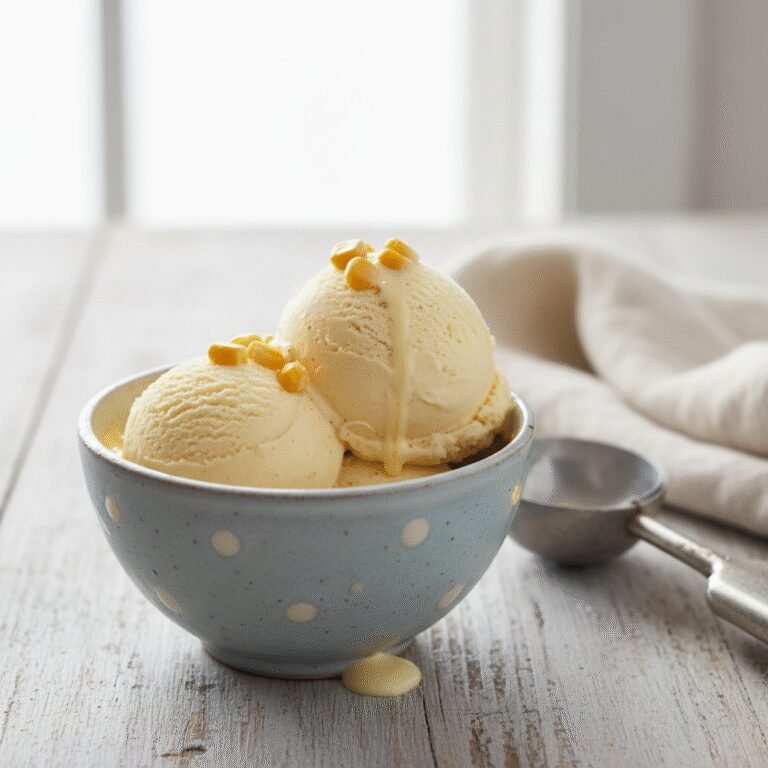
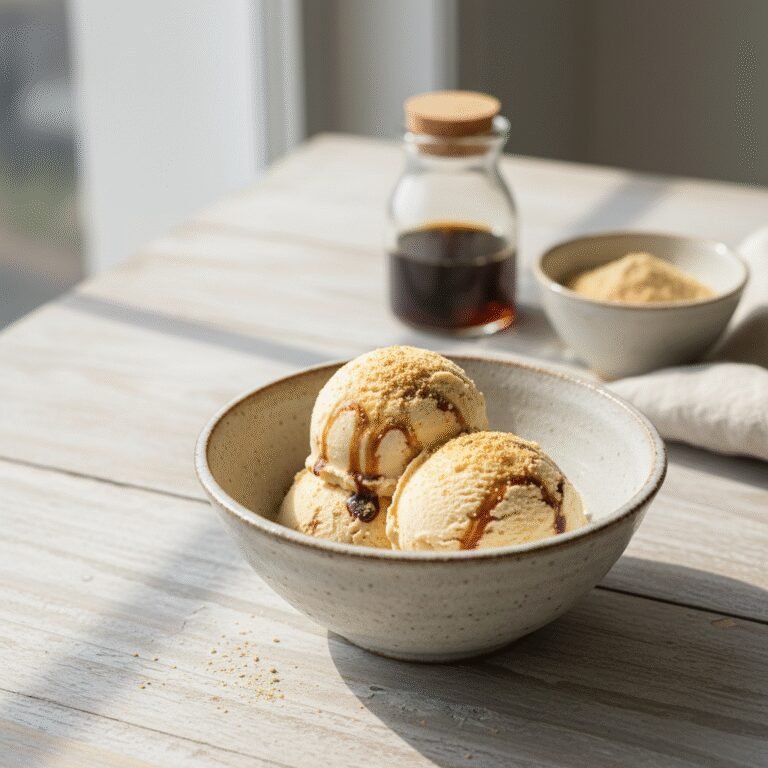
Get ready to fall in love with the most enchanting dessert you’ll ever make! This homemade taro ice cream is unbelievably creamy, with a unique, nutty-vanilla flavor and a gorgeous natural lavender hue that’s pure magic. It tastes just like the premium ice cream from your favorite boba shop, but it’s surprisingly simple to churn up right in your own kitchen.
25 minutes
30 minutes
8 hours (includes 6-8 hours for chilling and freezing)
1.5 quarts
Dessert
Stovetop & Ice Cream Maker
Asian-Inspired
Gluten-Free
Why You’ll Love This Recipe
- ✓Velvety smooth and luxuriously creamy texture
- ✓Subtle, sweet, and nutty flavor from real taro root
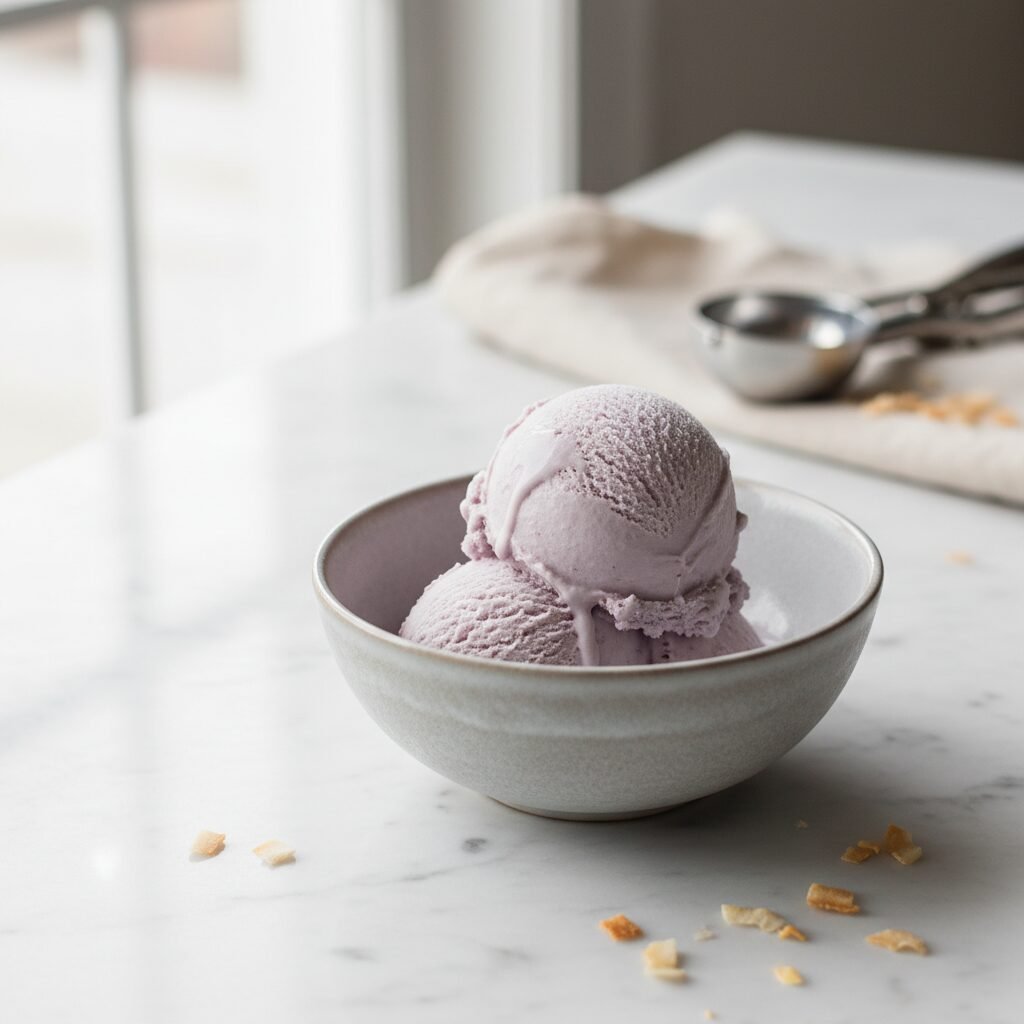
- ✓Stunning, all-natural pale lavender color
- ✓Easier to make than you think!
Equipment You’ll Need
- ✓Ice cream maker
- ✓Medium saucepan
- ✓High-speed blender or food processor
- ✓Fine-mesh sieve
- ✓Large bowl (for ice bath)
- ✓Whisk
- ✓Silicone spatula
- ✓Vegetable peeler and knife
Ingredients
- ✓1 lb fresh taro root
- ✓2 cups heavy cream
- ✓1 cup whole milk
- ✓3/4 cup granulated sugar, divided
- ✓5 large egg yolks
- ✓1 teaspoon pure vanilla extract
- ✓1/8 teaspoon fine sea salt
- ✓Optional: 1/4 teaspoon ube extract for a more vibrant color
Instructions
- First, prepare the taro. Wearing gloves to prevent skin irritation, peel the taro root. Cut it into 1-inch cubes.
- Place the taro cubes in a steamer basket over simmering water. Cover and steam for 20-25 minutes, or until the taro is completely tender and can be easily pierced with a fork.
- Transfer the steamed taro to a blender or food processor. Add 1/2 cup of the whole milk and blend until you have a perfectly smooth, thick puree. Set aside.
- Now, make the custard base. In a medium saucepan, combine the heavy cream, the remaining 1/2 cup of whole milk, and 1/2 cup of the granulated sugar. Warm over medium heat, stirring occasionally, until the sugar dissolves and the mixture is hot and steaming, but not boiling.
- While the cream is warming, whisk the egg yolks and the remaining 1/4 cup of sugar in a separate medium bowl until the mixture is pale yellow and slightly thickened.
- Temper the eggs by slowly pouring about one cup of the hot cream mixture into the egg yolks while whisking constantly. This gently raises the temperature of the eggs without scrambling them.
- Pour the tempered egg mixture back into the saucepan with the rest of the cream. Cook over low heat, stirring constantly with a spatula and scraping the bottom, for 5-8 minutes, or until the custard thickens enough to coat the back of the spatula.
- Immediately strain the custard through a fine-mesh sieve into a clean bowl to remove any small bits of cooked egg.
- Whisk the smooth taro puree, vanilla extract, salt, and optional ube extract into the warm custard base until fully combined.
- Create an ice bath by filling a large bowl with ice and a little water. Place the bowl with the taro custard base into the ice bath and let it cool, stirring occasionally, for about 30 minutes.
- Cover the bowl with plastic wrap, pressing it directly onto the surface of the custard to prevent a skin from forming. Refrigerate for at least 4 hours, or preferably overnight, until thoroughly chilled.
- Once chilled, pour the base into your pre-frozen ice cream maker bowl and churn according to the manufacturer’s instructions, typically for 20-25 minutes, until it reaches the consistency of thick soft-serve.
- Transfer the ice cream to a freezer-safe, airtight container. Press plastic wrap against the surface, seal, and freeze for at least 4 hours, or until firm.
Expert Cooking Tips
- ✓Wear gloves when peeling raw taro! The calcium oxalate in its skin can cause irritation for some people.
- ✓For the absolute creamiest ice cream, ensure your taro is steamed until it’s completely falling apart. Any hard bits will be noticeable in the final product.
- ✓Don’t rush the chilling process. A properly cold base is the secret to small ice crystals and a silky-smooth texture.
- ✓When cooking the custard, use low heat and never stop stirring. If you see even a hint of it starting to simmer, pull it off the heat immediately.
Substitutions and Variations
For a dairy-free or vegan version, substitute the heavy cream with full-fat canned coconut cream and the whole milk with a creamy plant-based milk like oat or cashew milk. Use a vegan egg yolk substitute or a cornstarch slurry (2 tbsp cornstarch mixed with 2 tbsp cold plant milk) to thicken the base instead of eggs. The flavor profile will be slightly different, with a coconut undertone, but equally delicious.
Common Mistakes to Avoid
A common mistake is undercooking the taro, which results in a gritty texture. Steam it until it’s mushy! Another pitfall is not chilling the custard base long enough, leading to an icy final product instead of a creamy one. Lastly, be careful not to boil the custard base, as this will curdle the eggs and ruin the texture. Low and slow is the way to go.
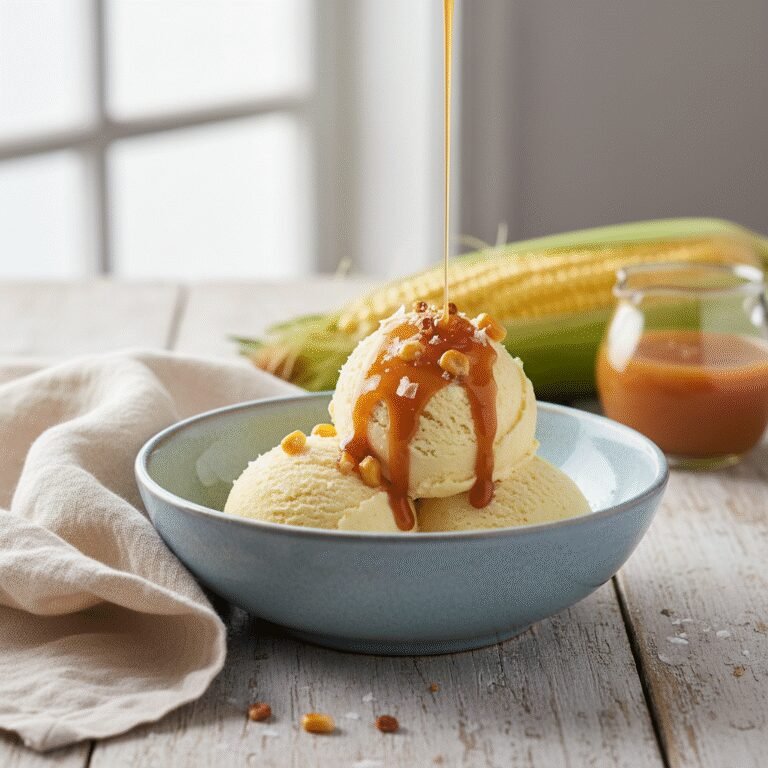
Serving Suggestions
This taro ice cream is a star on its own, but it’s even better with toppings! Serve scoops in a crunchy waffle cone or a chilled bowl, then garnish with toasted coconut flakes, crushed pistachios, or chewy boba pearls. For an extra-special treat, add a scoop alongside a warm brownie or a slice of angel food cake.
Storage and Reheating Tips
Store your homemade ice cream in an airtight container deep in the freezer, not on the door where the temperature fluctuates. To prevent ice crystals, press a layer of plastic wrap or parchment paper directly onto the surface of the ice cream before sealing the lid. Enjoy within two weeks for the best flavor and texture.
Nutrition Facts (Estimated)
| Serving Size | 1/2 cup (approx. 90g) |
| Calories | 285 kcal |
| Fat | 18 g |
| Saturated Fat | 11 g |
| Unsaturated Fat | 6 g |
| Trans Fat | 0 g |
| Cholesterol | 90 mg |
| Sodium | 95 mg |
| Carbohydrates | 28 g |
| Fiber | 1 g |
| Sugar | 22 g |
| Protein | 4 g |
Frequently Asked Questions
Can I make this recipe without an ice cream maker?
Absolutely! For a no-churn method, pour the chilled custard base into a shallow, freezer-safe dish. Freeze for 45 minutes, then remove and stir vigorously, breaking up any frozen bits. Repeat this process every 30 minutes for about 3-4 hours, until it’s thick and creamy. Then, freeze until firm.
My taro root is white. Why isn’t my ice cream purple?
Taro root naturally varies in color from creamy white with purple specks to a very pale lilac. The vibrant purple color often seen in commercial taro ice cream comes from added coloring or ube. To achieve that iconic color, I recommend adding a tiny amount of ube extract, which enhances the purple hue beautifully.
Is taro the same as ube?
It’s a common point of confusion! While both are starchy root vegetables used in desserts, taro and ube are different. Taro has a corm with a mild, nutty flavor and a pale color. Ube is a type of purple yam with a deeper, sweeter flavor and a brilliant, natural purple flesh.
Where can I buy fresh taro root?
You can typically find fresh taro root at Asian supermarkets. Many larger grocery stores with a diverse international produce section will also carry it. Look for firm, heavy tubers without any soft spots or mold.
Conclusion
There’s nothing quite like the satisfaction of scooping into a bowl of your very own homemade taro ice cream. It’s a unique and delightful treat that’s sure to impress anyone who tries it. If you make this recipe, I’d be thrilled to see your beautiful purple creations! Please share a photo on Pinterest or Instagram and tag us!