Creamy No-Churn Wasabi Ice Cream with a Sweet, Spicy Kick
Wasabi Ice Cream Recipe
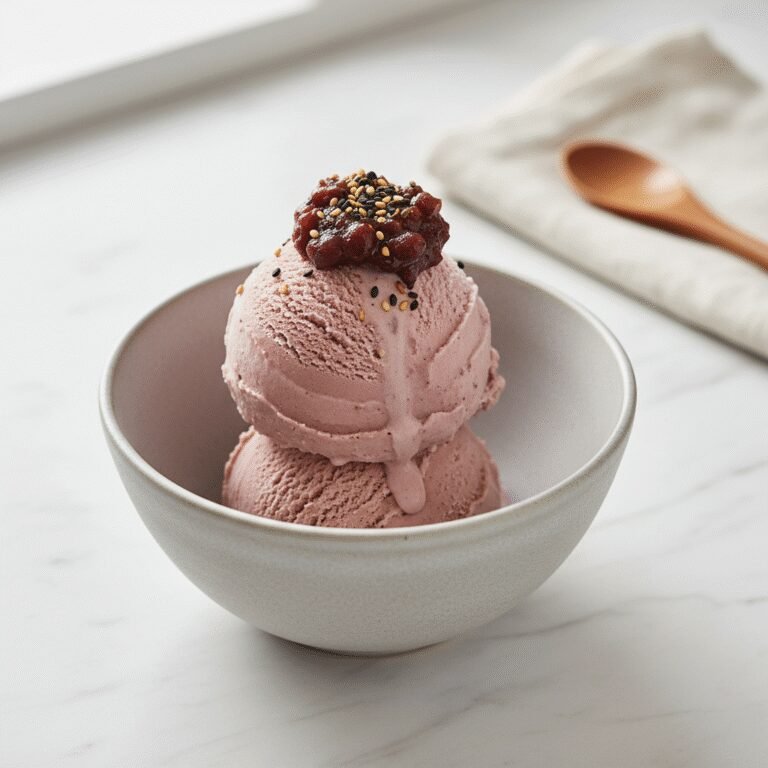
Get ready for a dessert that will truly awaken your taste buds! This homemade wasabi ice cream is the most incredible blend of creamy, sweet, and spicy, creating a surprisingly delightful treat that’s impossible to forget. It’s a bold, sophisticated, and incredibly easy culinary adventure you can make right in your own freezer.
15 minutes
0 minutes
6 hours 15 minutes (includes freezing)
1 quart (about 8 servings)
Dessert
No-Churn
Japanese-Inspired
Gluten-Free
Why You’ll Love This Recipe
- ✓A unique and sophisticated sweet & spicy flavor profile.
- ✓Incredibly easy no-churn recipe, no ice cream maker needed!
- ✓Made with only 6 simple ingredients.
- ✓The ultimate conversation-starting dessert for any occasion.
Equipment You’ll Need
- ✓Large mixing bowl (preferably metal or glass)
- ✓Electric hand mixer or a stand mixer with a whisk attachment
- ✓Rubber spatula
- ✓9×5 inch loaf pan or a similar freezer-safe container
- ✓Small bowl
Ingredients
- ✓2 cups heavy whipping cream, very cold
- ✓1 (14-ounce) can sweetened condensed milk, cold
- ✓2 to 4 teaspoons wasabi paste (from a tube), adjusted to your taste
- ✓1 teaspoon pure vanilla extract
- ✓1/8 teaspoon fine sea salt
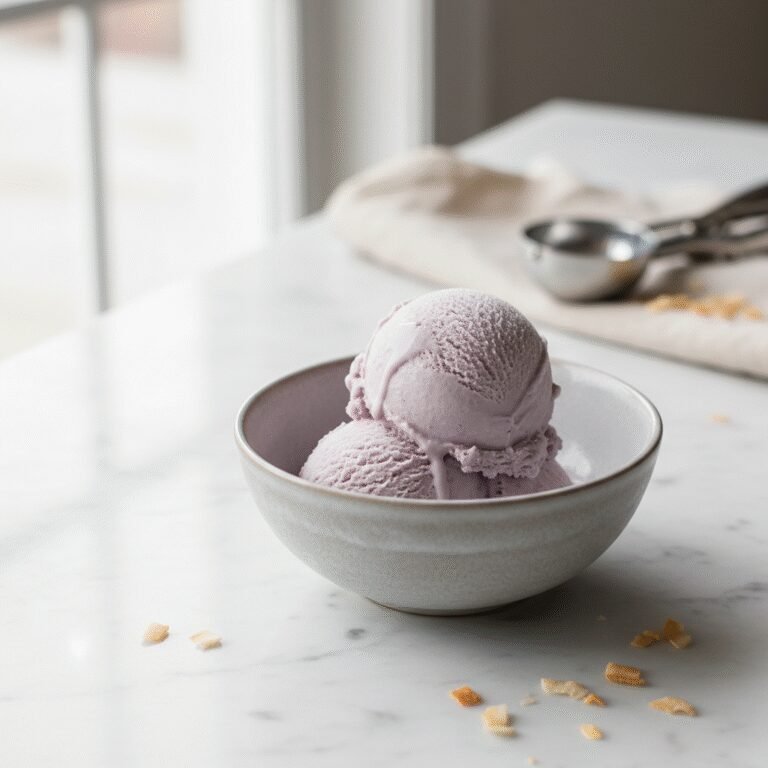
- ✓2-3 drops green food coloring (optional, for a pale minty color)
Instructions
- Before you begin, place your large mixing bowl and the beaters from your electric mixer in the freezer for at least 15 minutes. A chilled bowl is key to getting perfectly whipped cream.
- In a separate medium bowl, whisk together the cold sweetened condensed milk, 2 teaspoons of wasabi paste, the vanilla extract, and the fine sea salt until completely smooth. If you’re using food coloring, whisk it in now. Taste the mixture; if you desire a stronger wasabi kick, add more paste, 1/2 teaspoon at a time, until it reaches your preferred level of spice.
- Remove the chilled bowl and beaters from the freezer. Pour the very cold heavy whipping cream into the bowl.
- Using the electric mixer, whip the cream on medium-high speed until it forms stiff peaks. You’ll know it’s ready when the cream holds its shape and you can lift the beater out and the peak stands straight up without curling over.
- Add about one-third of the whipped cream to the wasabi-condensed milk mixture. Gently fold it in with a rubber spatula to lighten the base. This makes it easier to incorporate the rest of the cream without deflating it.
- Carefully add the remaining whipped cream to the bowl. Gently fold everything together until just combined and no white streaks remain. Be careful not to overmix, as this will cause the ice cream to lose its light, airy texture.
- Pour the mixture into your loaf pan or freezer-safe container and smooth the top with your spatula.
- Cover the container tightly. You can press a piece of plastic wrap directly onto the surface of the ice cream to prevent ice crystals from forming, then cover with a lid or foil.
- Freeze for at least 6 hours, or until firm. For the best scooping texture, let the ice cream sit at room temperature for 5-10 minutes before serving.
Expert Cooking Tips
- ✓For the best flavor, use a high-quality wasabi paste from a tube, not the powder. True wasabi (wasabia japonica) is ideal, but the more common horseradish-based paste works wonderfully in this recipe.
- ✓Everything must be cold! The secret to a fluffy, creamy no-churn ice cream is starting with very cold heavy cream, cold condensed milk, and a chilled bowl and beaters. This helps the cream whip up faster and incorporate more air.
- ✓Taste as you go! The pungency of wasabi can vary by brand. Start with the lower amount (2 teaspoons), taste the base, and then decide if you want to add more. Remember that the flavor will mellow slightly once frozen.
- ✓The ‘fold’ is crucial. When combining the whipped cream and the condensed milk base, use a gentle folding motion with a spatula—scraping down the sides and bringing the mixture from the bottom up over the top. Do not stir or whisk, as this will deflate all the air you worked so hard to whip in.
Substitutions and Variations
For a dairy-free or vegan version, this recipe works beautifully! Substitute the heavy cream with 2 cans of chilled, full-fat coconut cream (use only the thick, solidified cream from the top of the can) and use a can of sweetened condensed coconut milk. The result is a lusciously creamy ice cream with a subtle coconut flavor that pairs wonderfully with the wasabi. Ensure all your dairy-free ingredients are well-chilled before starting.
Common Mistakes to Avoid
The most common mistake is overmixing when folding the whipped cream into the base. This knocks out the air, leading to a dense and icy final product instead of a creamy one. Fold only until the mixture is uniform. Another common issue is not whipping the cream enough; be sure you reach stiff peaks for the best structure. Lastly, don’t be tempted to add too much wasabi at once – you can always add more, but you can’t take it away.
Serving Suggestions
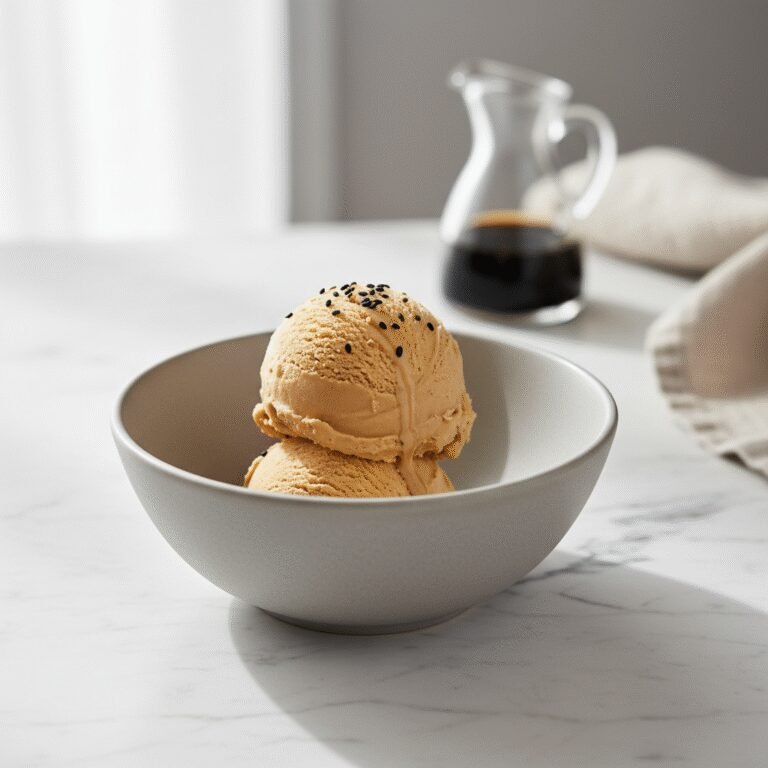
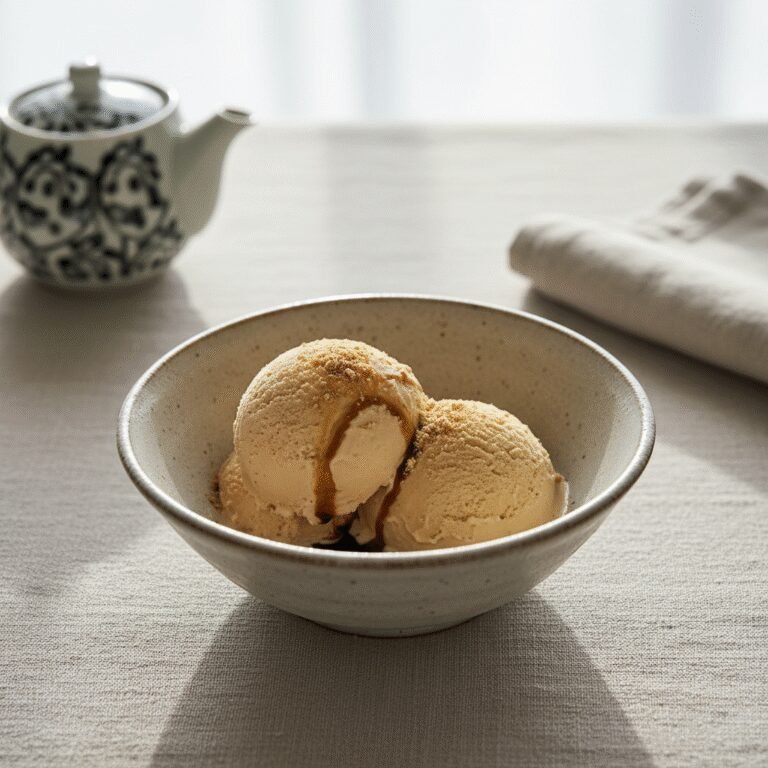
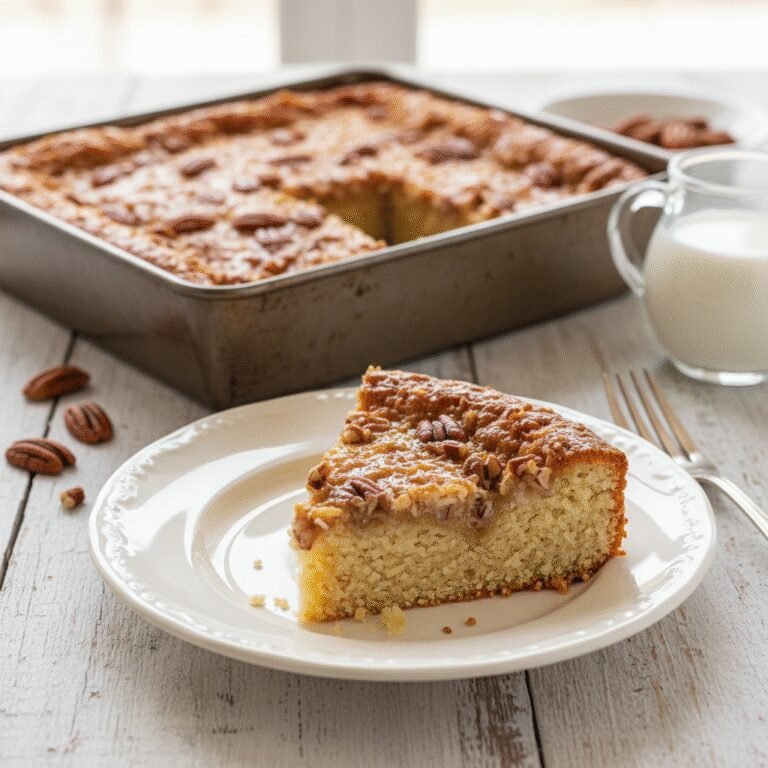
This wasabi ice cream is a showstopper on its own, but it pairs beautifully with other flavors. Serve a scoop alongside a decadent, fudgy dark chocolate brownie or a slice of flourless chocolate cake. For a lighter pairing, serve it with fresh mango slices, lychee, or raspberries. A drizzle of honey or a sprinkle of toasted black sesame seeds adds a fantastic finishing touch of texture and nutty flavor.
Storage and Reheating Tips
Store your homemade wasabi ice cream in an airtight, freezer-safe container. To prevent ice crystals and maintain the creamiest texture, press a layer of plastic wrap or parchment paper directly against the surface of the ice cream before securing the lid. It will stay fresh and delicious for up to 2 weeks.
Nutrition Facts (Estimated)
| Serving Size | 1/2 cup |
| Calories | 350 kcal |
| Fat | 25 g |
| Saturated Fat | 16 g |
| Unsaturated Fat | 9 g |
| Trans Fat | 0 g |
| Cholesterol | 90 mg |
| Sodium | 100 mg |
| Carbohydrates | 28 g |
| Fiber | 0 g |
| Sugar | 25 g |
| Protein | 5 g |
Frequently Asked Questions
Is this ice cream unpleasantly spicy?
Not at all! The creamy, sweet base perfectly balances the heat of the wasabi. It creates a gentle, pleasant warmth and a tingling sensation rather than a fiery burn. You are in complete control of the spice level, so you can make it as mild or as zesty as you like.
Can I use an ice cream maker for this recipe?
Absolutely! If you have an ice cream maker, you can simply whisk all the ingredients together in a bowl until smooth (no need to whip the cream separately) and then churn according to your machine’s manufacturer instructions. This will result in an even smoother, creamier texture.
Why does my no-churn ice cream seem icy?
Iciness is usually caused by a lack of air in the base or the formation of large ice crystals. To prevent this, make sure your heavy cream is whipped to stiff, stable peaks and be very gentle when folding it into the condensed milk mixture to avoid deflating it. Also, covering the surface with plastic wrap before freezing is a crucial step to prevent ice crystals from forming on top.
Where can I find wasabi paste?
You can find wasabi paste in a tube in the international foods aisle of most larger supermarkets, often near the soy sauce and other Asian ingredients. You can also find it at any Asian grocery store or purchase it online for the best selection.
Conclusion
This Creamy No-Churn Wasabi Ice Cream is more than just a dessert; it’s an unforgettable experience that proves opposites really do attract. It’s the perfect, unexpected treat to delight your guests and add a little adventure to your dessert rotation. I hope you fall in love with this sweet and spicy creation! If you make it, I would be thrilled to see it. Please tag me on social media and share your masterpiece on Pinterest!